Tamiya 1/32 Spitfire Mk8. Photos by Brett Green.
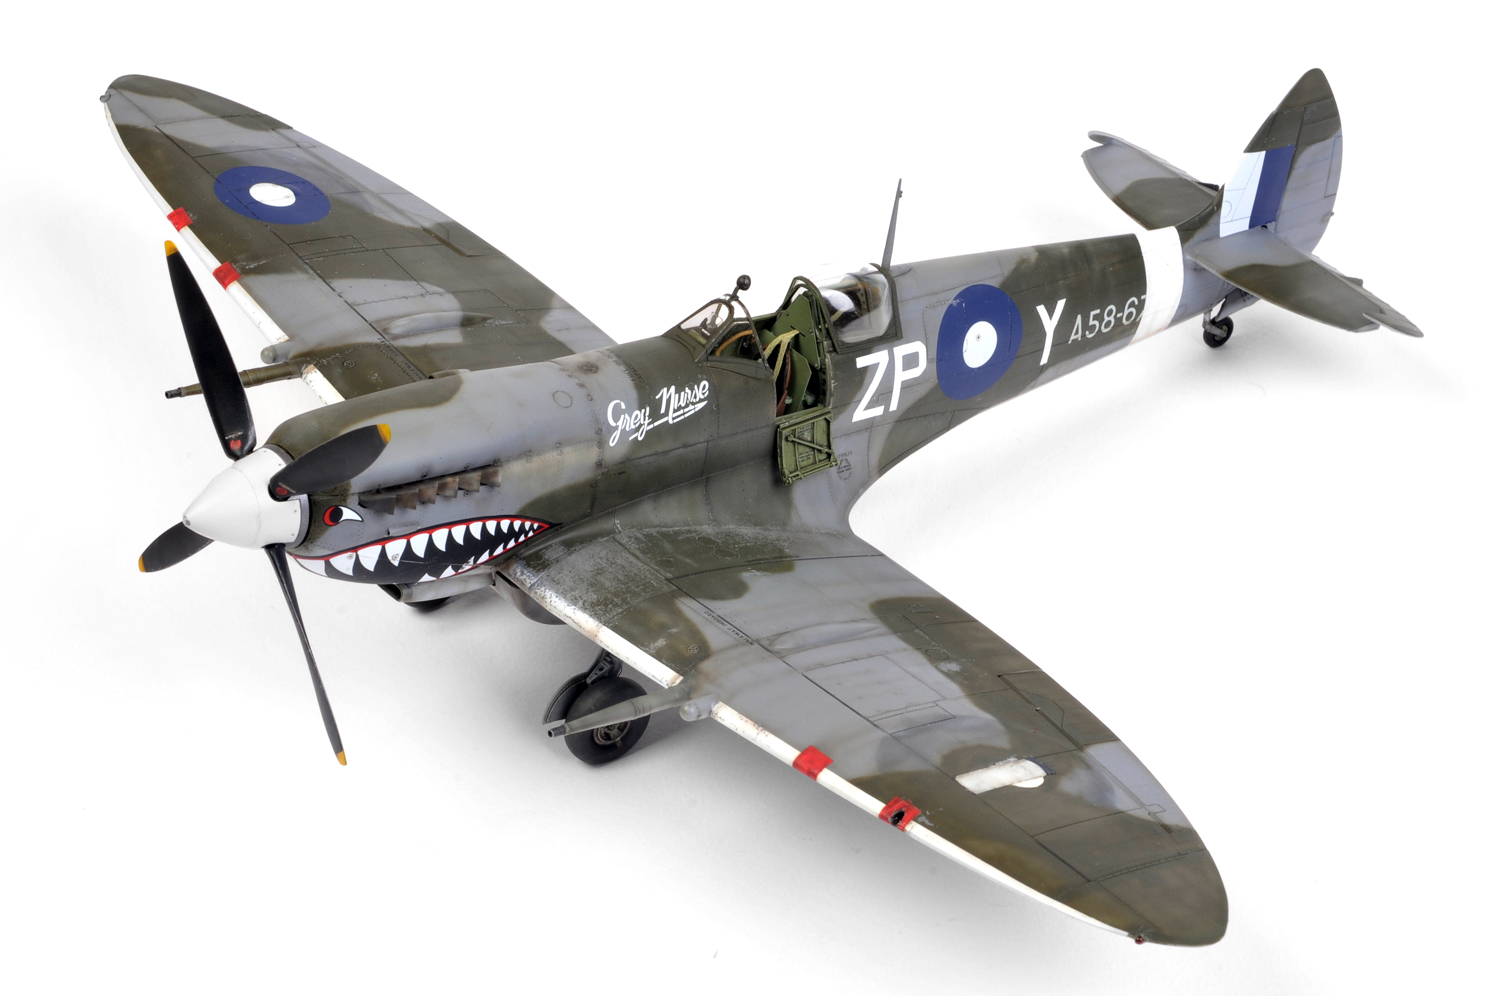
Mk8 Spitfire of 457 Squadron RAAF built by Brett Green and painted, weathered and detailed by me.


Chris Wauchop Scale Models and Photography
Mk8 Spitfire of 457 Squadron RAAF built by Brett Green and painted, weathered and detailed by me.

Chris, the degradation of colors simply fascinating, how many hours you sue??? .. Congratulations Master
LikeLike
Ben, sorry mate but it has been a while since I did these two and I can’t remember exactly how long it took to paint them. At least three or four days each I think.
LikeLike
Chris ,
You’re right, I lose track of how many hours and days and months leading finish a model, and sometimes hours of inspiration, really fascinating!
LikeLike
I am really enjoying these bigger photo images Chris W. 🙂
They really show up your models with much more impact,
and show off the realistic paint detail you have put into them !
They are great to look at at this size !
I also just viewed your Tamiya 1/35 Marder III Ausf.M.
Exciting paint work and detail !
I don’t make models thesedays but I do want to re-shoot my best ones again in digital.
Seeing your models makes me want to re-do it.
Thesedays I play the computer game Men of War Assault Squad.
I can play with all the WW2 sights and sounds of these tanks and men on the battlefield.
I play it using my Samsung monitor and 3D glasses and a office chair that rumbles to the
sound of explosions, etc. Awesome !!!
LikeLike
I’m really happy that you’re getting inspired again. I’ve been having great fun photographing some of my old models and mucking around with them on Photoshop. Getting a decent camera has made a big difference to! Re-working some of Brett’s old photos is also good fun.
The computer game sounds brilliant, but please pull yourself away from it and take the pics. I would really love to see the results!!!
All the best,
Chris.
LikeLike
Hey everyone,
chris i’ve been following alot of work here, in books and other websites, and it is second to none art which is just wonderful to behold and which one day i can hopefully get close to achieving. just wanted ask you one question about the exhaust stacks. are they mostly sprayed or have you used oils to achieve this wonderful effect?
thanks
Andrew
LikeLike
Hi Andrew,
The exhaust stacks are mainly airbrushed with some fine brush detail work. But all done using water-based acrylics.
I’m really glad you are enjoying the blog and please feel free to ask any questions you like which I will try to answer to the best of my ability.
Cheers,
Chris.
LikeLike
hey again,
another quick question,i know you use a silver pencil to simulate chipping, however, when do you apply this, after you apply the base colours/weathering, after the decals or right at the end when you put the final flat coat on?
thanks
Andrew
LikeLike
Andrew,
The silver pencil is used during and after the initial weathering process and usually after decal application. This process does vary of course depending on wether or not I feel it needs a bit more chipping. I do like to ‘age’ the chipping by dulling it down a bit with a very thin, patchy spray of a very thin black/brown mix (the same mix I use for exhaust stains and panel lines etc.) All this before the flat coat, of course.
Hope this goes some way to answering your question.
Cheers,
Chris.
LikeLike
Chris- Again I am awe-struck by your subtle and VERY effective weathering. Can I ask your technique and shades used for the exhaust stains down the fuselage? I like the colors you have chosen, but am unsure which shades you used. After all of your work blending them, they are nearly indiscernible from each other, but their effect is breathtaking.
LikeLike
The colours used to do the exhaust and fuel stains are Tamiya XF-57 Buff and a mix of XF-64 Red Brown with a dash of XF-1 Flat Black for the panel line stains and darker streaks. These mixes are extremely thin, about 90% thinners to 10% paint, and applied with the airbrush adjusted to it’s finest setting and built up very gradually until the desired effect is achieved.
I hope this is of some help.
All the best,
Chris.
LikeLike
Cheers Chris, that does indeed help! I borrowed your technique, and was extremely pleased at the results I was able to achieve. Thank you for your help, always a pleasure viewing your work. A real source of inspiration!
LikeLike