Dragon 1/48 Ju88G-1 Nachtjäger
Junkers Ju88G-1 ‘NACHTJÄGER’ of 7. Staffel/NJG 2

Before the G-series all night fighter versions of the Ju88 were based on a modified A-series fuselage. The new G-series had a re-designed fuselage to better fit the demands of a night fighter. These changes included the removal of the lower defensive gondola from below the nose for less drag and also to lower weight. The Ju88A vertical tail unit was replaced with the larger and squarer Ju188 fin and rudder for better lateral stability. The G-1 was also fitted with the standard, more powerful armament consisting of four forward-firing 20mm cannon housed in a streamlined underbelly gun pack. Some G-1s had combinations of forward or upward firing cannon fitted to the nose but these caused a blinding muzzle flash for the pilot and so were not adopted. Some later G-1s were fitted with a pair of upward firing ‘Schräge Musik’ cannon behind the cockpit but not this early one.
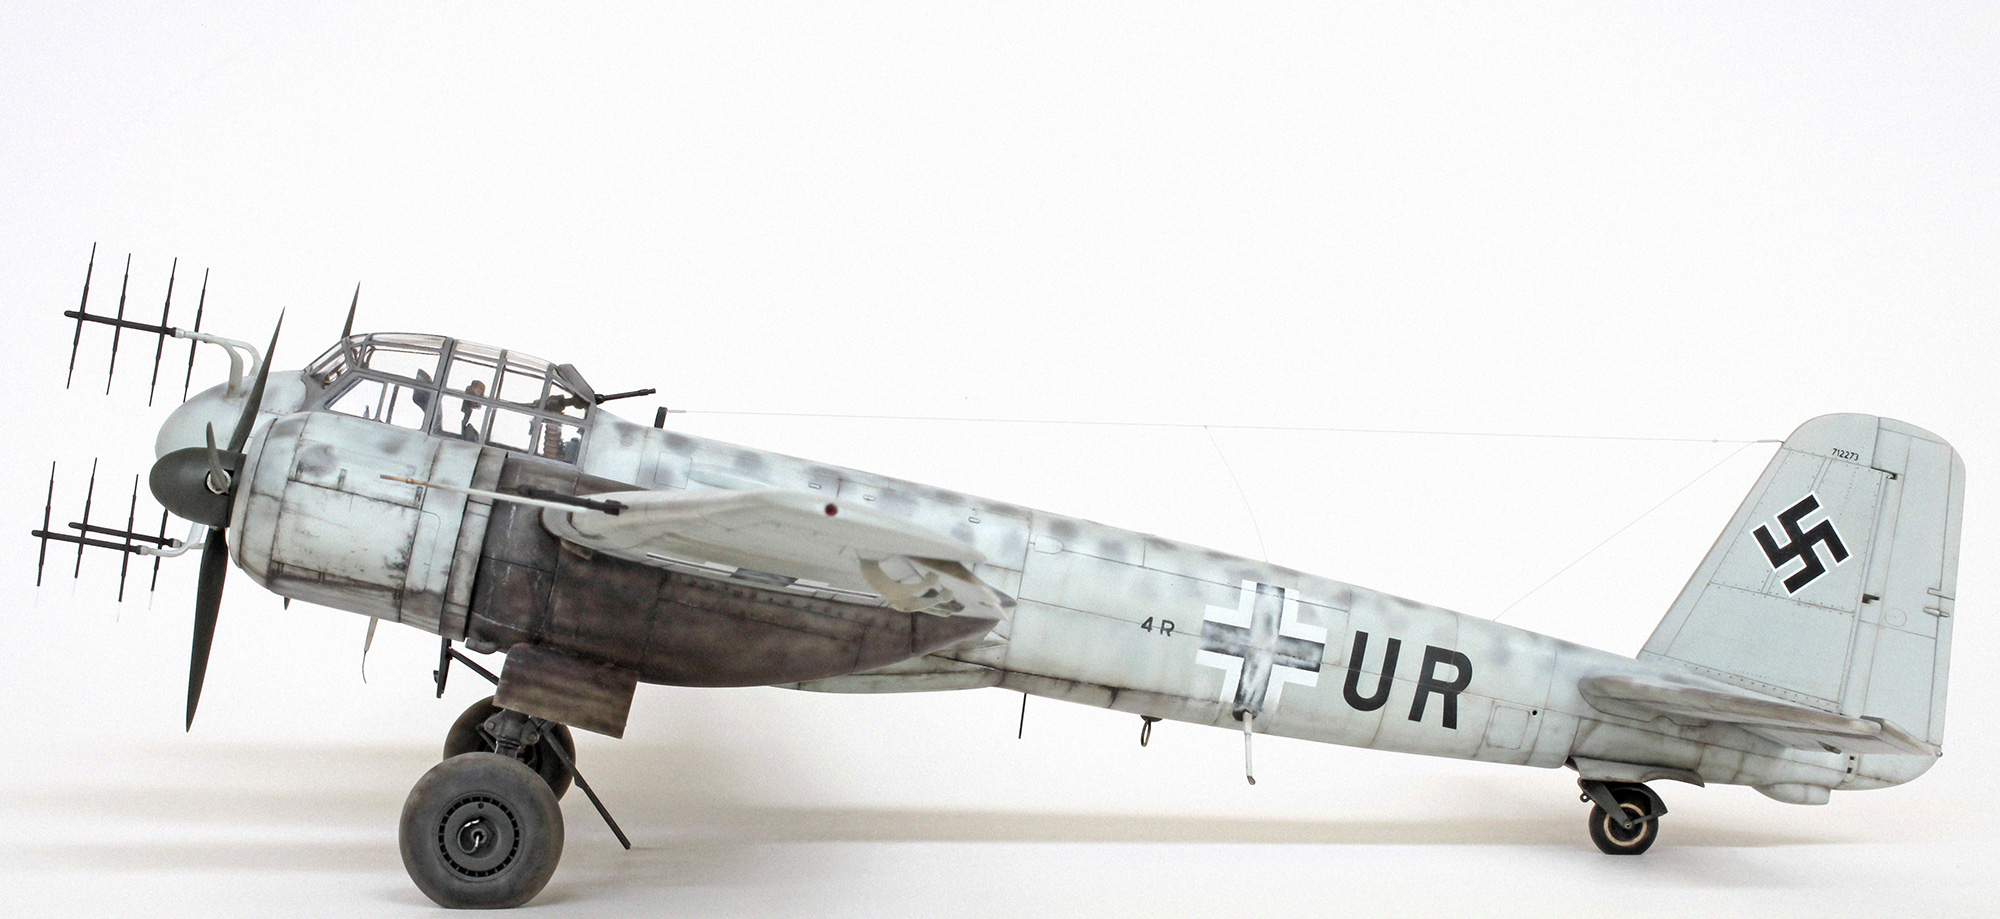
The subject of this model is an early production G-1 (W.Nr. 712273) from 7./NJG 2 piloted by Obergefreiter Hans Mäckle. At 04.25 hours on the 13th July 1944 Mäckle, after getting completely lost and flying a reciprocal course, landed on the emergency landing strip at Woodbridge, Suffolk thinking he was near Berlin. The capture of one of Germany’s latest night fighters, being intact and fully equipped with the latest radar and radio, meant that this valuable prize was extensively tested and photographed which makes it a great subject for the modeller.
CONSTRUCTION AND DETAILING

Cockpit interior with a bit of extra detail consisting of scratch built safety harnesses made from lead foil and fine copper wire, hydraulic lines added to the rudder pedals made from fine solder wire and a new scratch-built headrest was added to the radio operator’s seat.
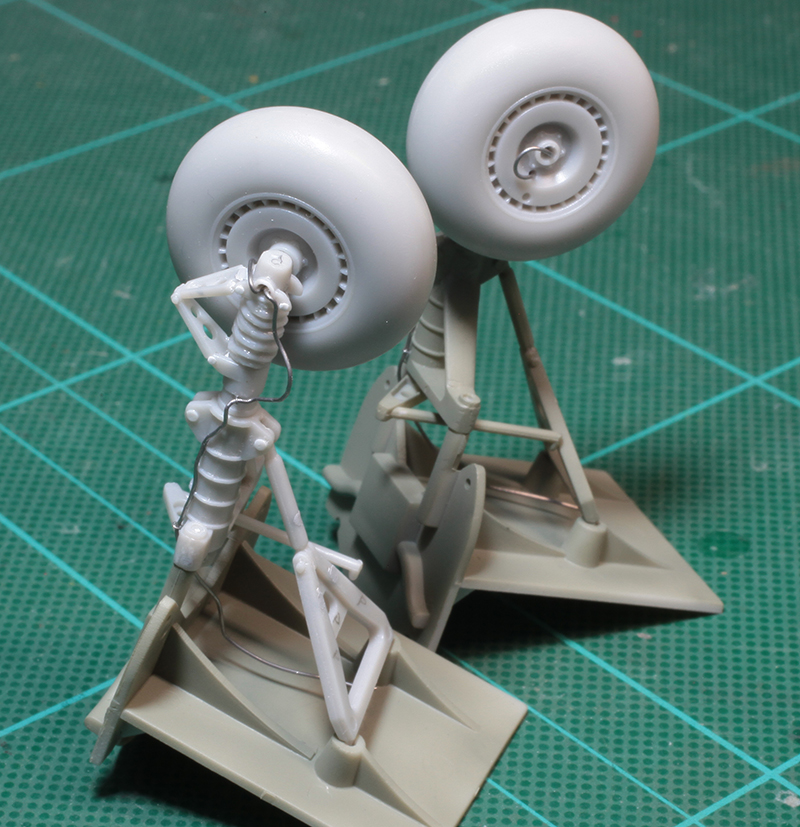
Main undercarriage with fine solder brake and hydraulic lines added and a bit of hinge detail added to the oleo scissors and retraction arm attachment. All tyres, including the tail wheel, were given flat spots before being painted and fixed in place.

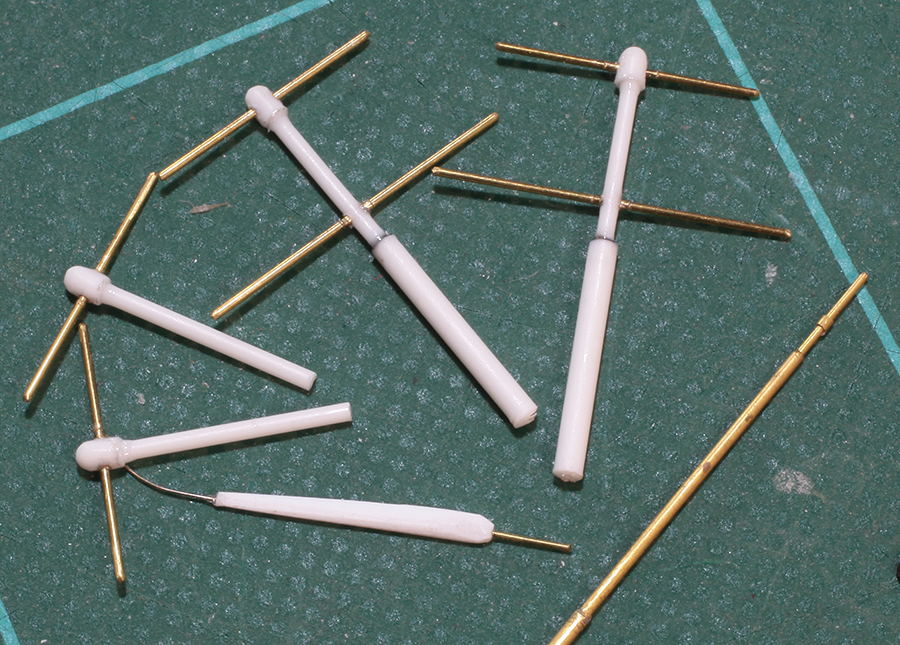
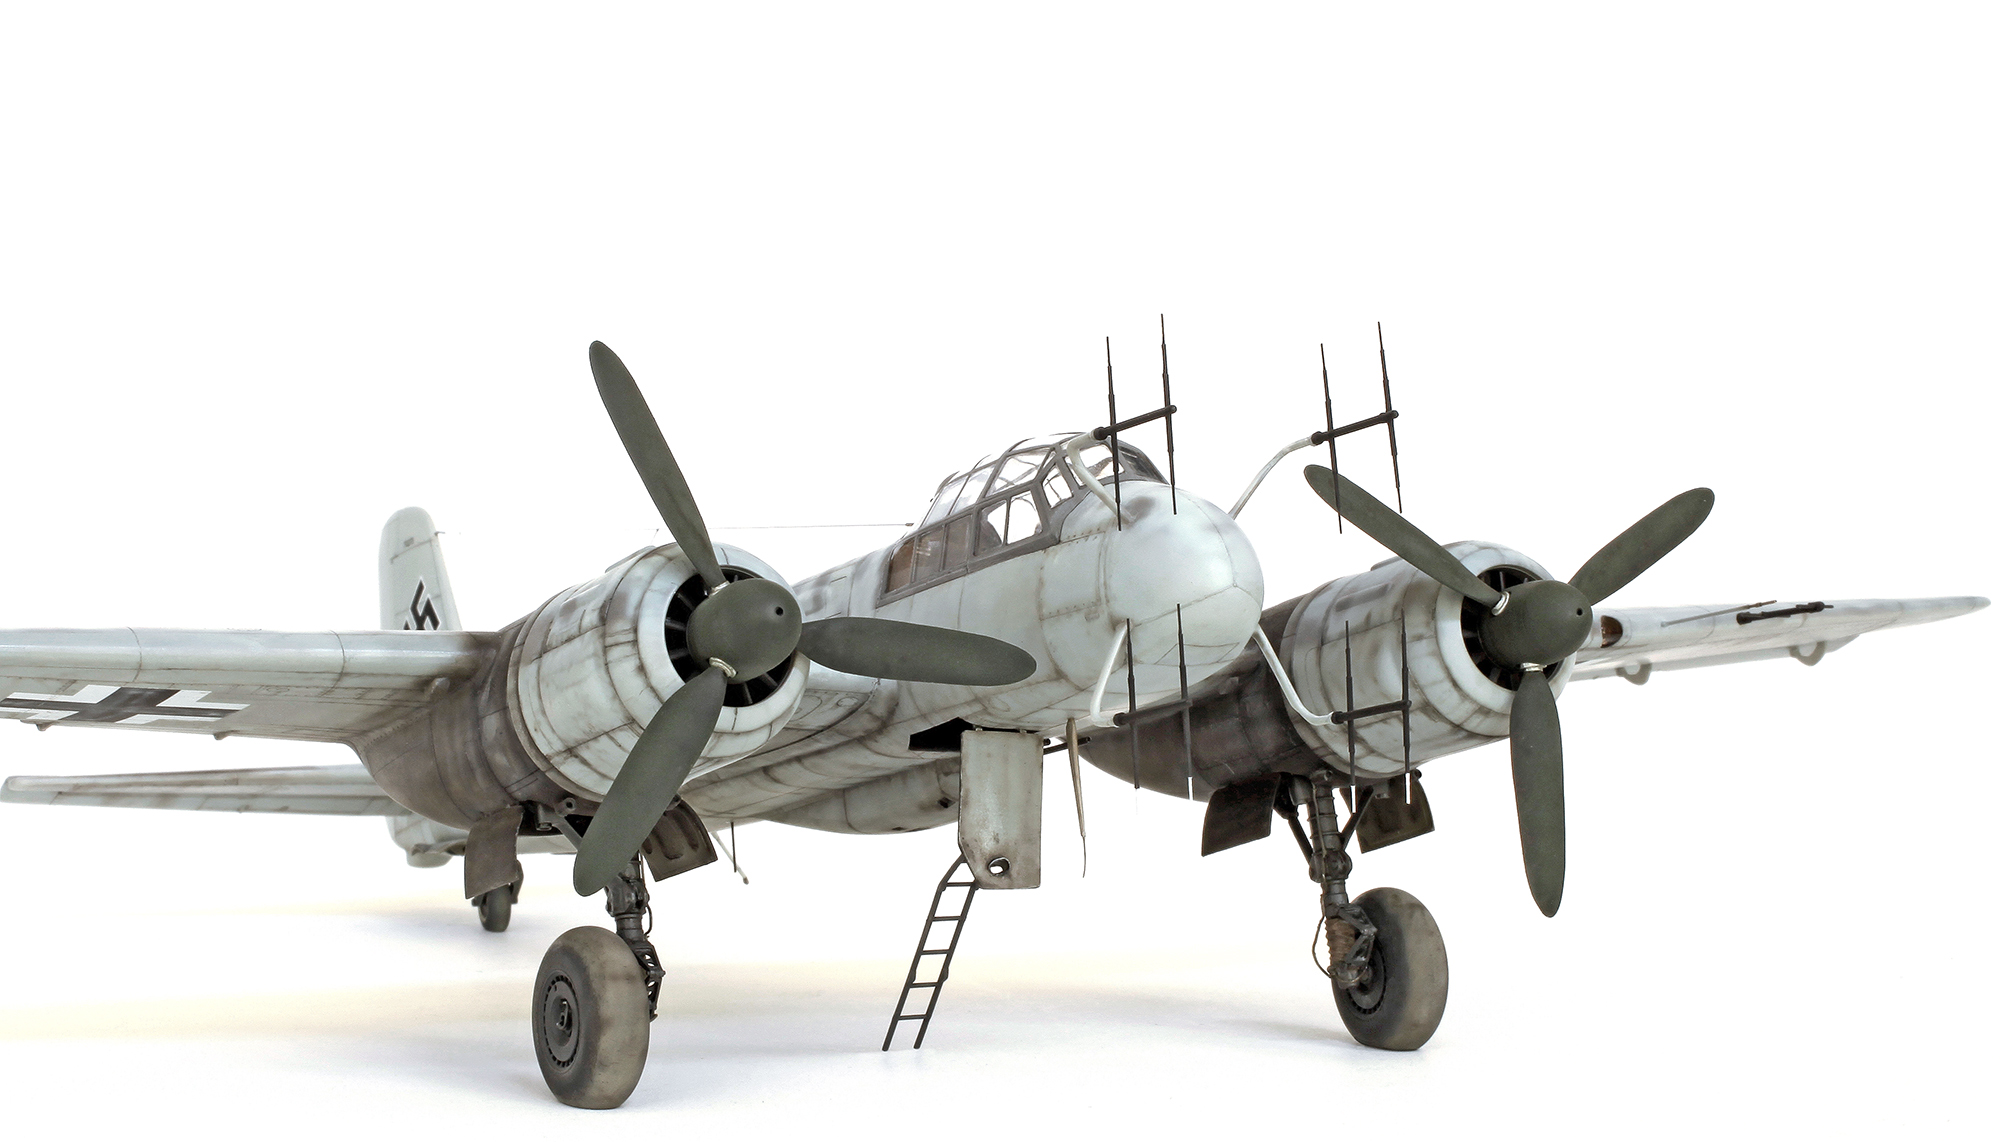
Next big job was to replace the kit Lichtenstein SN-2 radar dipoles with much finer and cleaner examples made using Albion Alloys SFT2 telescoping brass tube and wire and .040″ plastic rod from Evergreen. For a bit of added strength the end of each dipole was drilled and a short length of brass wire was glued in place. A corresponding hole was drilled in the mounting points on each of the main radar arms and, using CA glue, each mast was firmly fixed in place.
The kit’s wing mounted FuG 227 Flensburg antennae masts, pitot tube and FuG 16 antenna were all replaced with scratch-built items made using brass wire, tube and plastic rod.
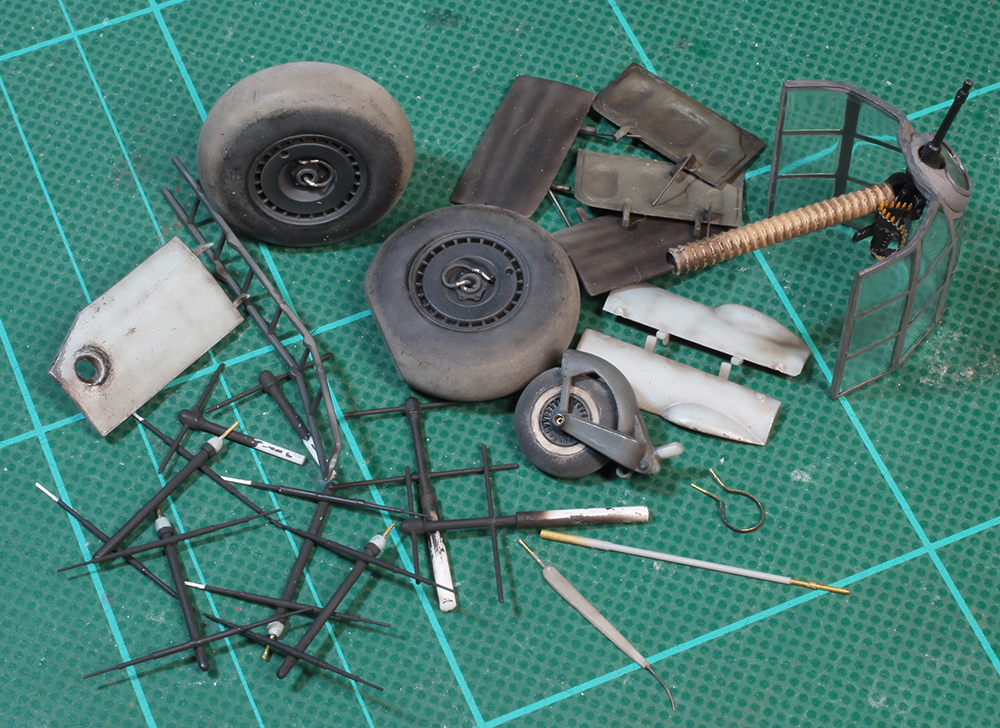
All the dangley bits painted, weathered and waiting to be attached. The crew access door on the left was later replaced with a better detailed scratch-built one.
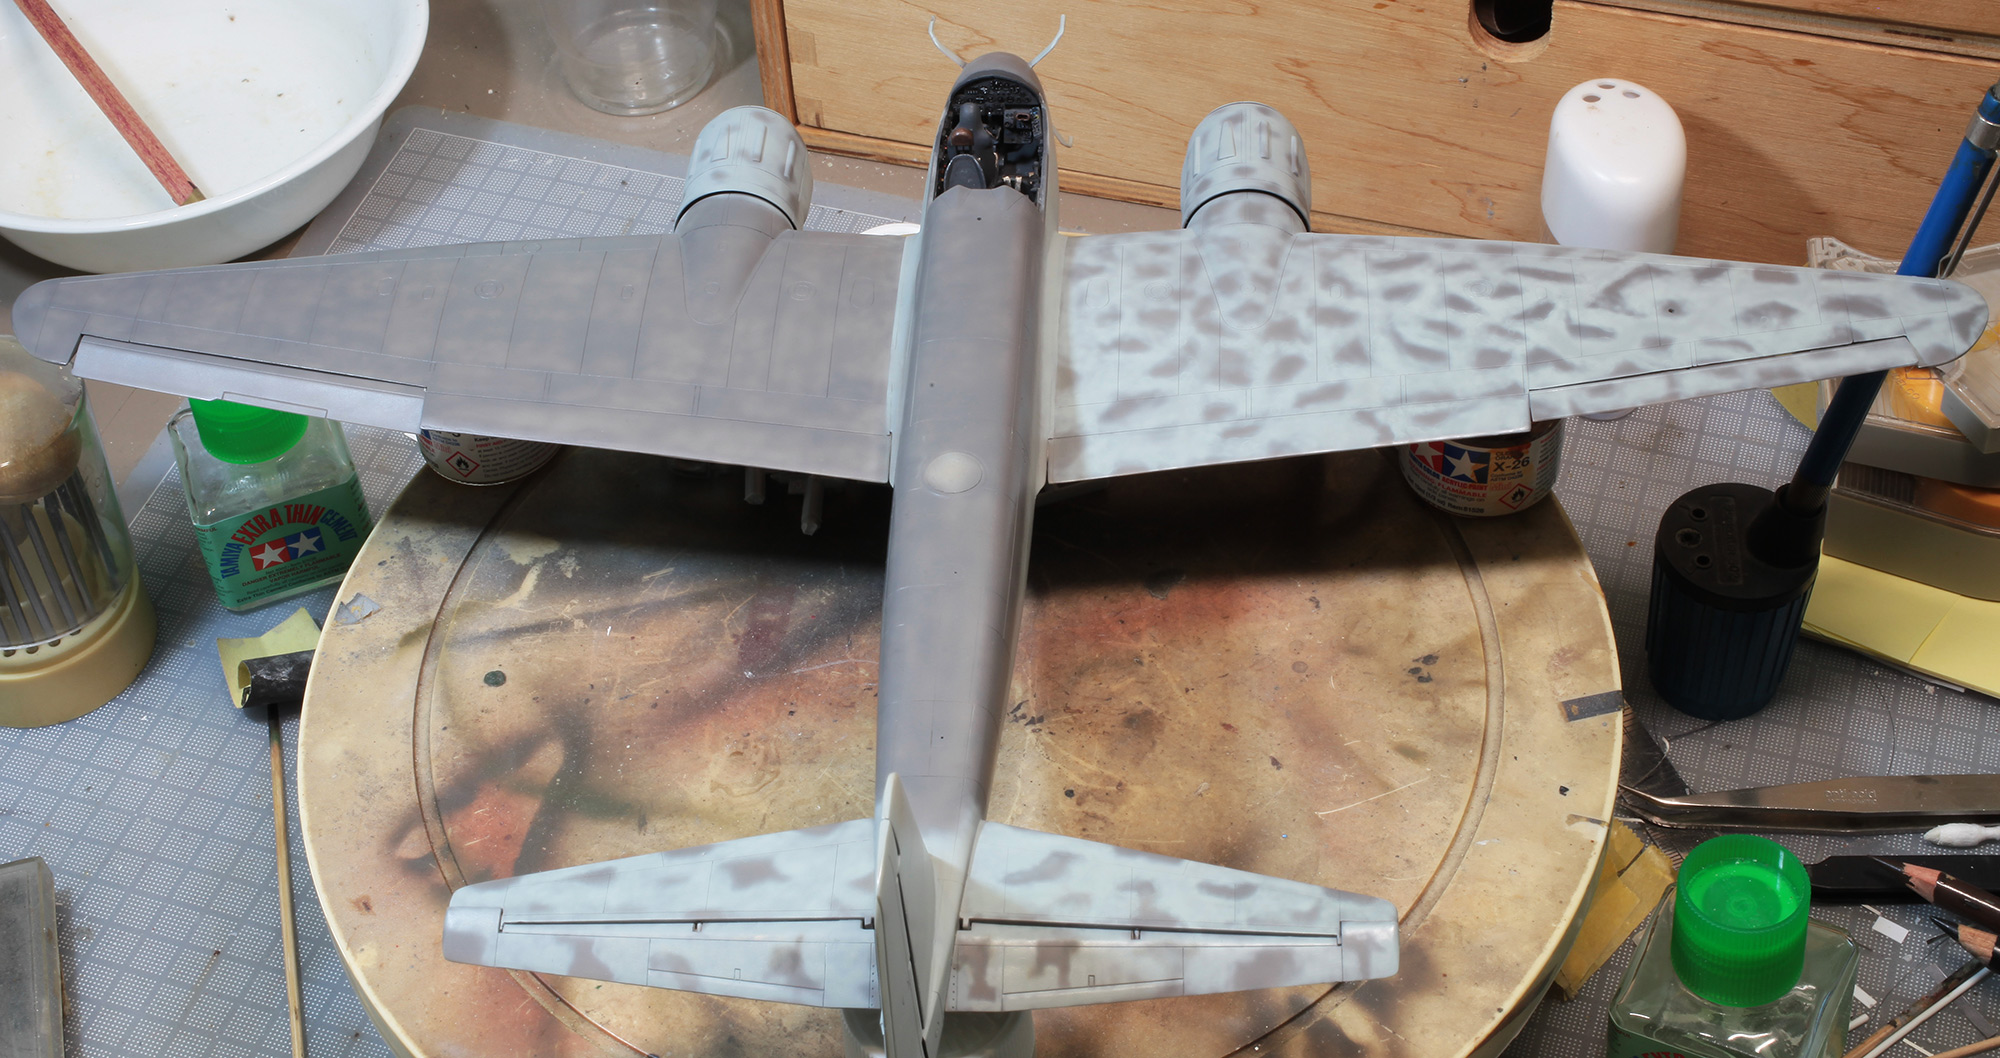
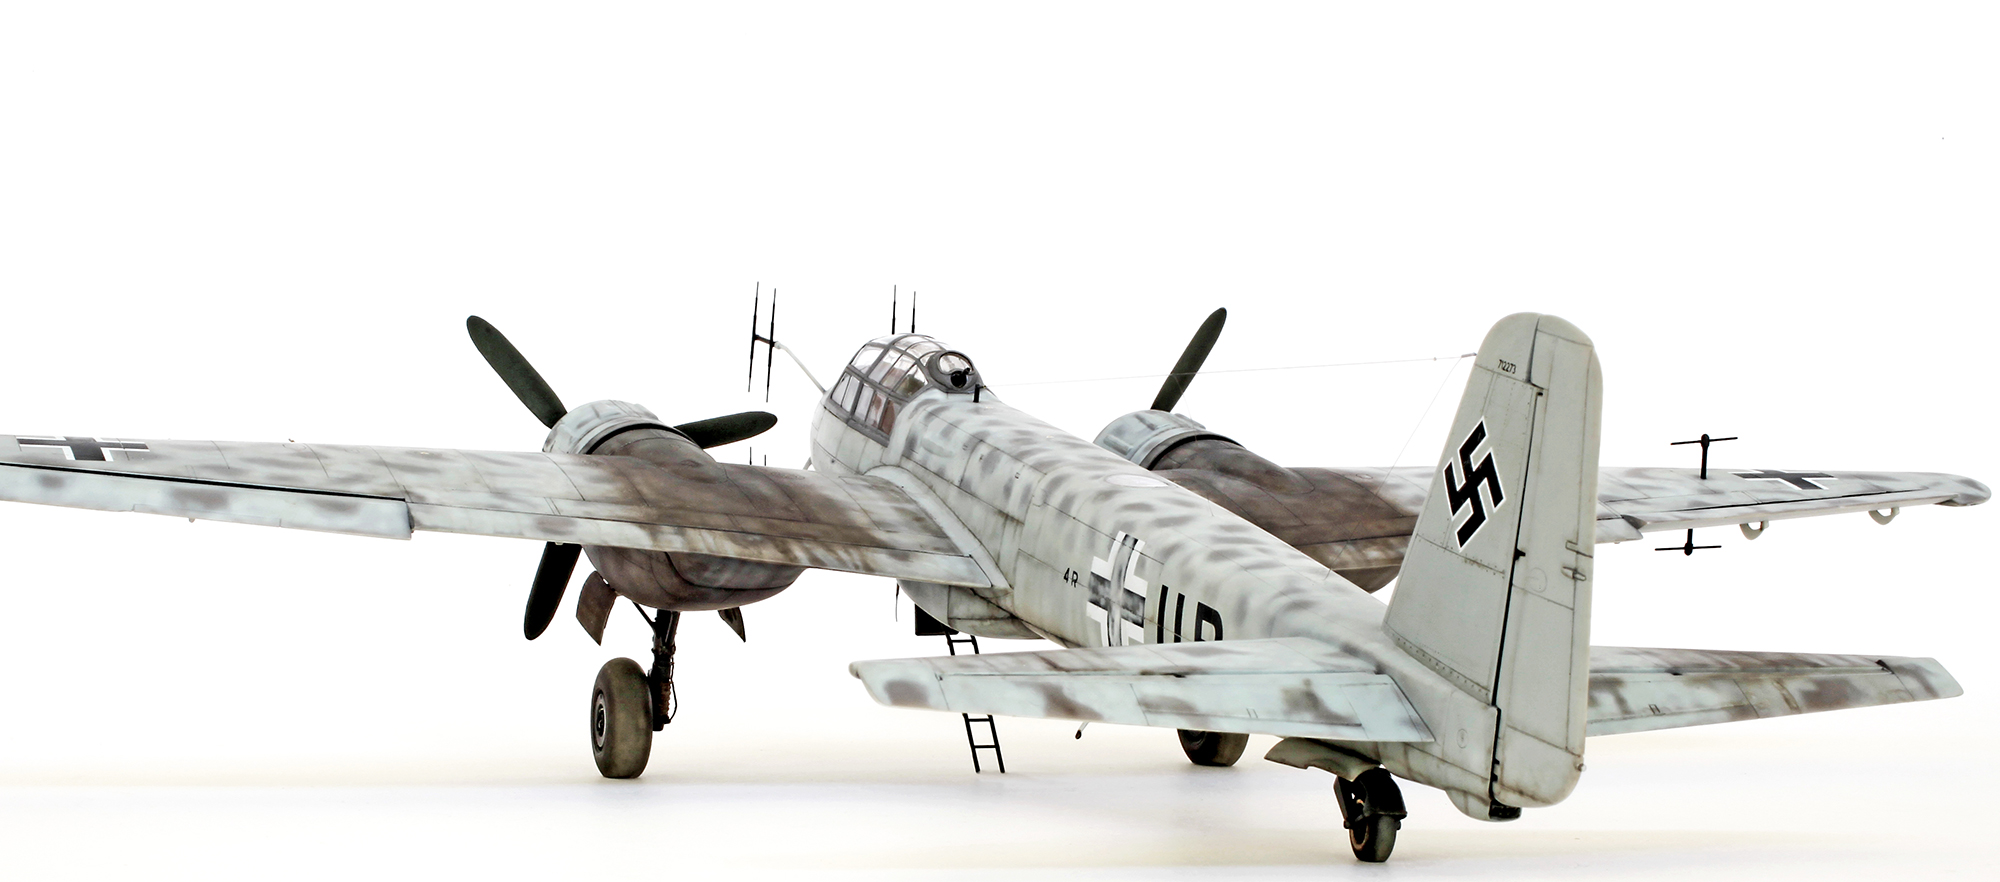
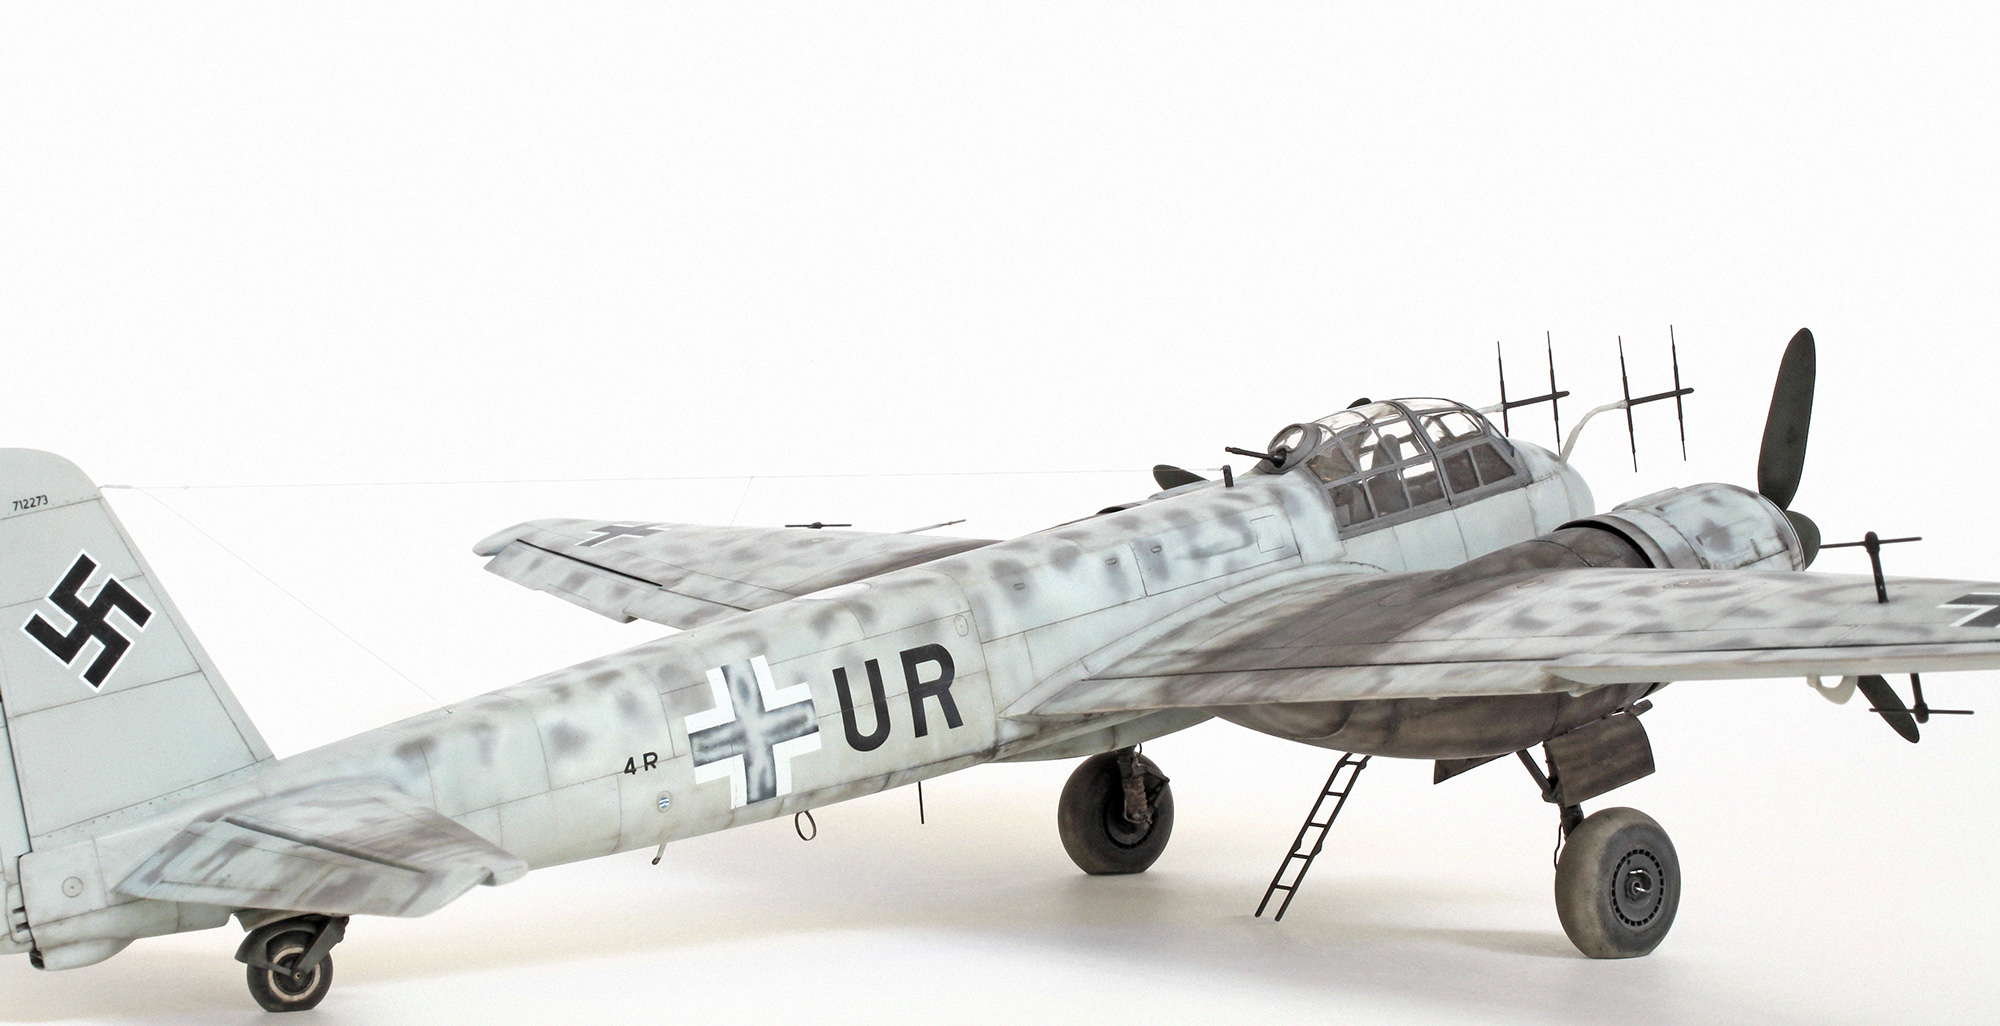
This is my interpretation of factory-applied German night fighter camouflage—RLM76 Light Blue under surfaces and vertical tail, with solid RLM75 Grey-Violet on all horizontal upper surfaces. The upper surfaces were then given various cross hatch, squiggle and lattice patterns of RLM76 Blue. In some factories and sometimes in the field other colours were added to this upper scheme using various patterns and colours. Even though the description of this type of scheme is usually described as being a mottle of Grey-Violet applied over the top of an overall Light Blue base I think my interpretation is right. Note also that my application of the upper colours is fairly patchy.
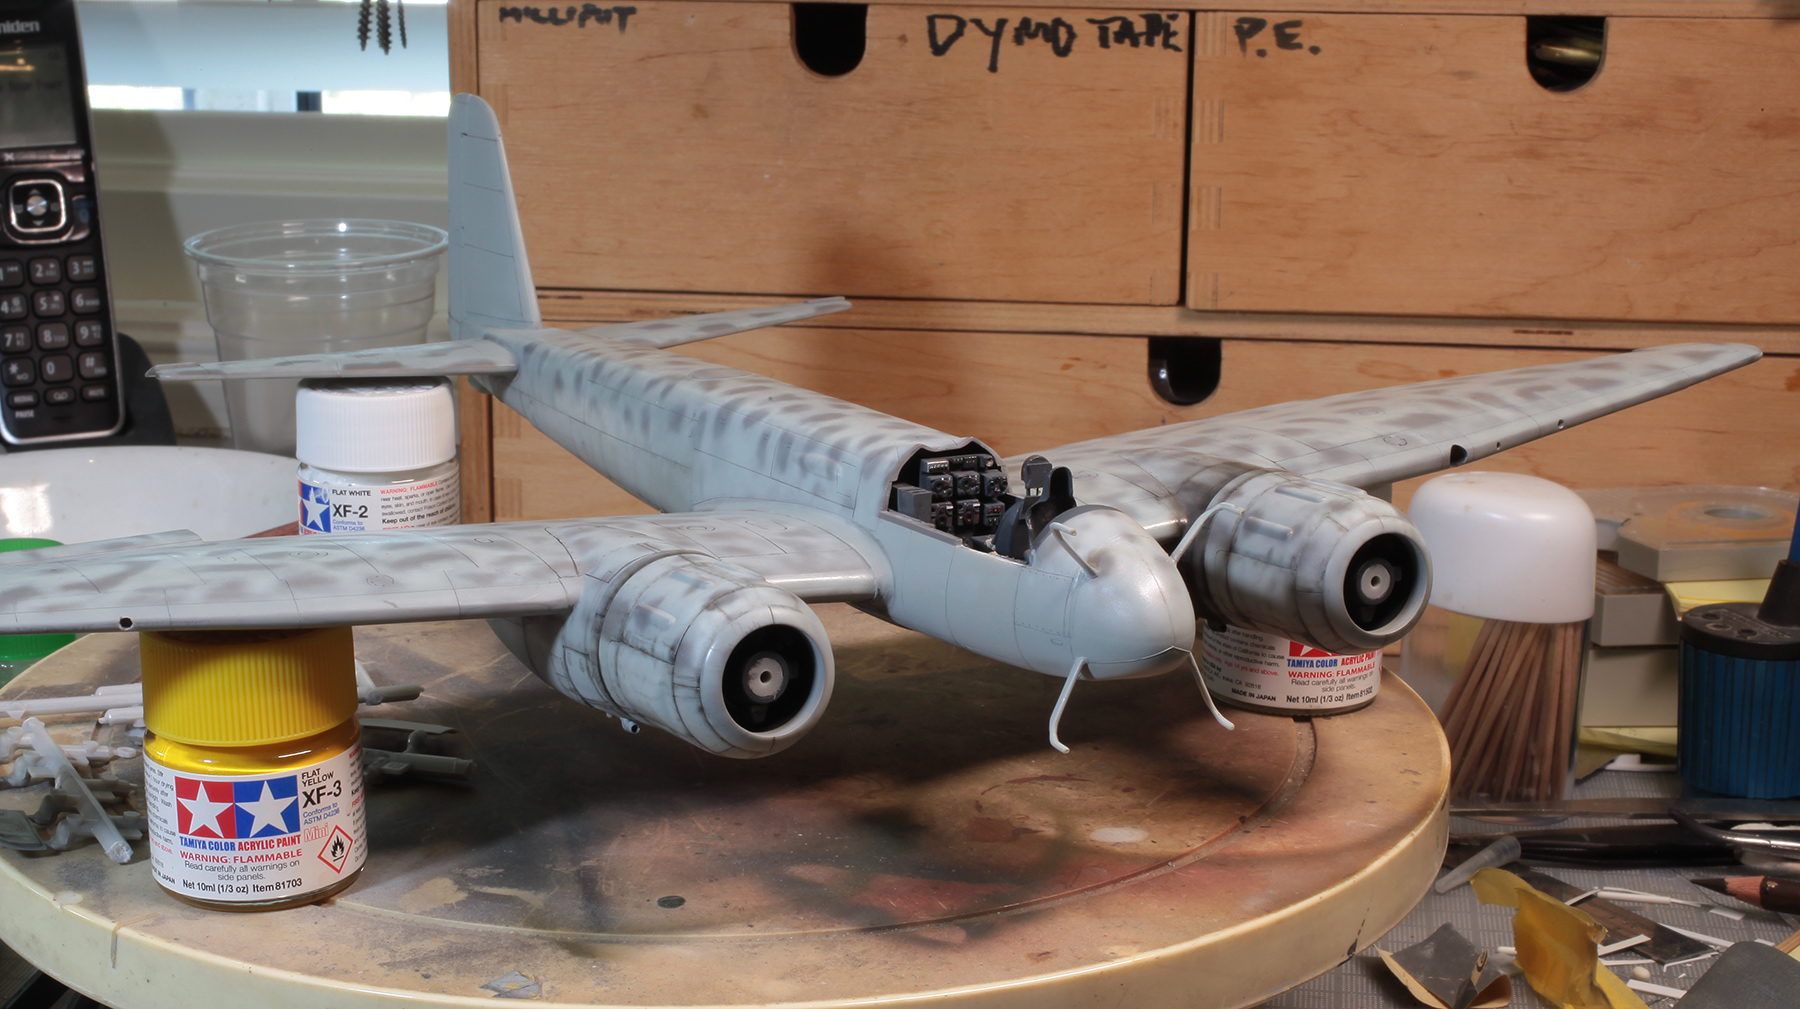
Upper surface cammo now complete and weathering has begun.

The undersurfaces were fairly heavily weathered as per a very clear photo of the inner wings and central fuselage of this aircraft. This was applied using a fine paint brush but mainly with my old Aztek airbrush.

Decals and heavy exhaust staining added to upper and lower surfaces.
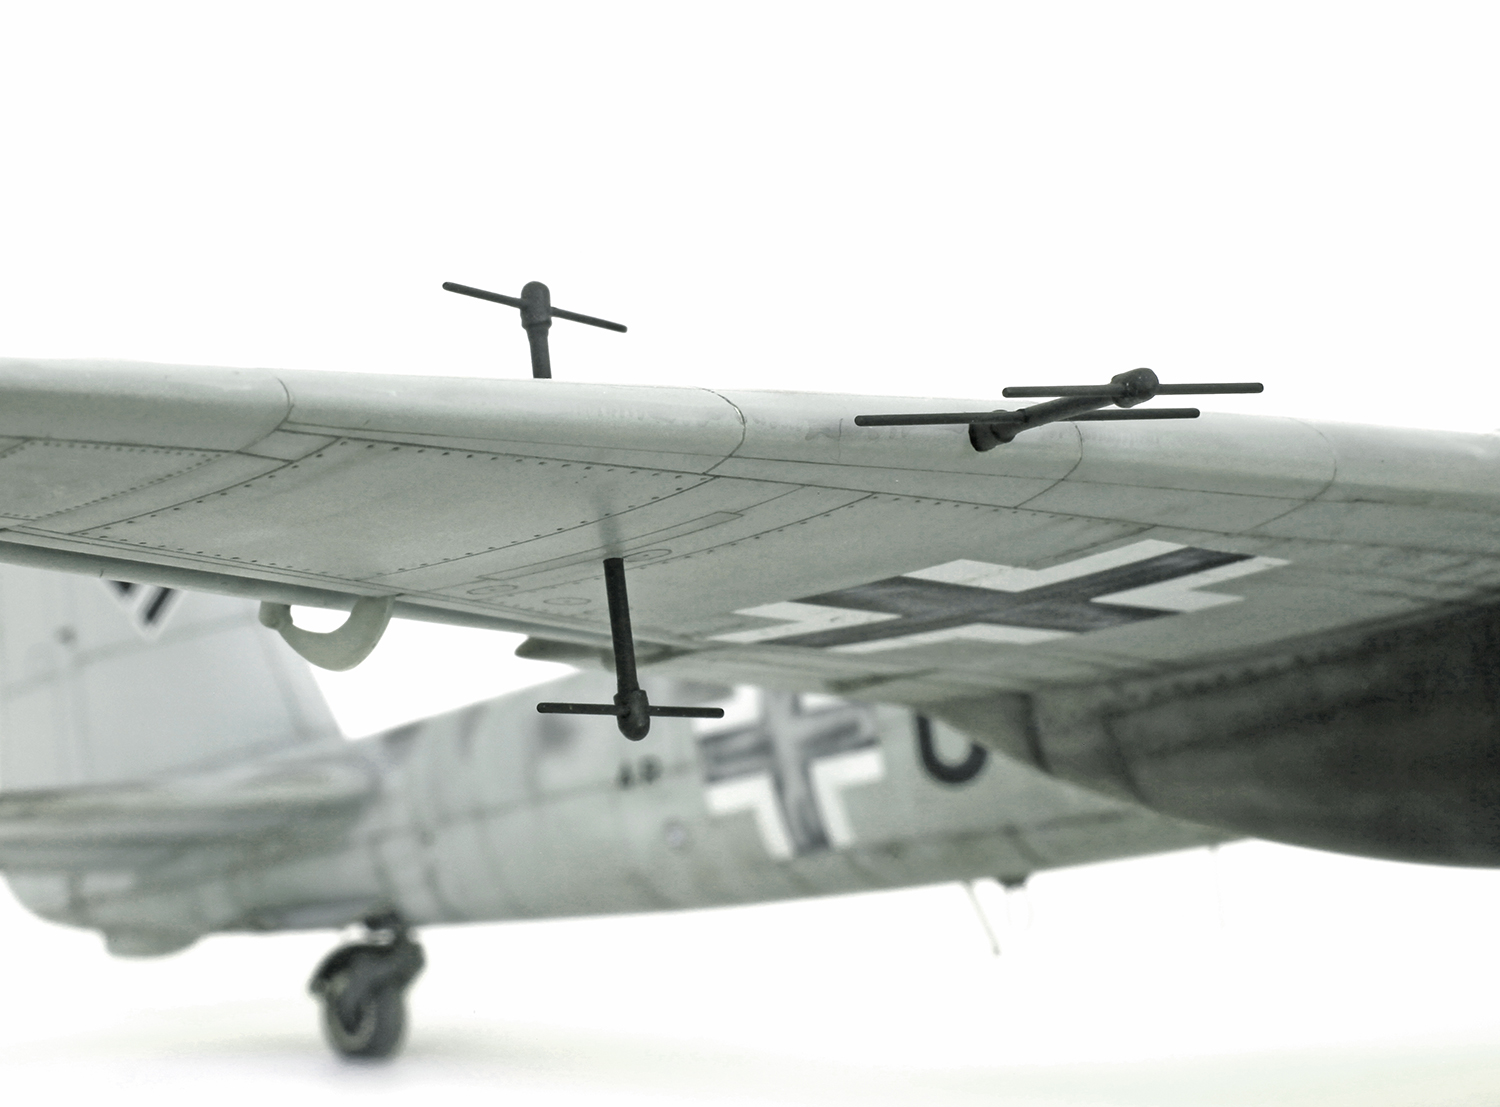
FuG 227 Flensburg radar detector antennae on the starboard wing. These masts picked up the RAF bombers Monica I.F.F. transmissions and greatly aided the German pilots in locating and homing in on their targets. The port wing was only fitted with the leading edge mast.

Close-up of port engine weathering. Also notice the dark yellow/orange lens on the landing light and the rough overspray of RLM76 over the black centres of the underwing and fuselage balkenkreuz.
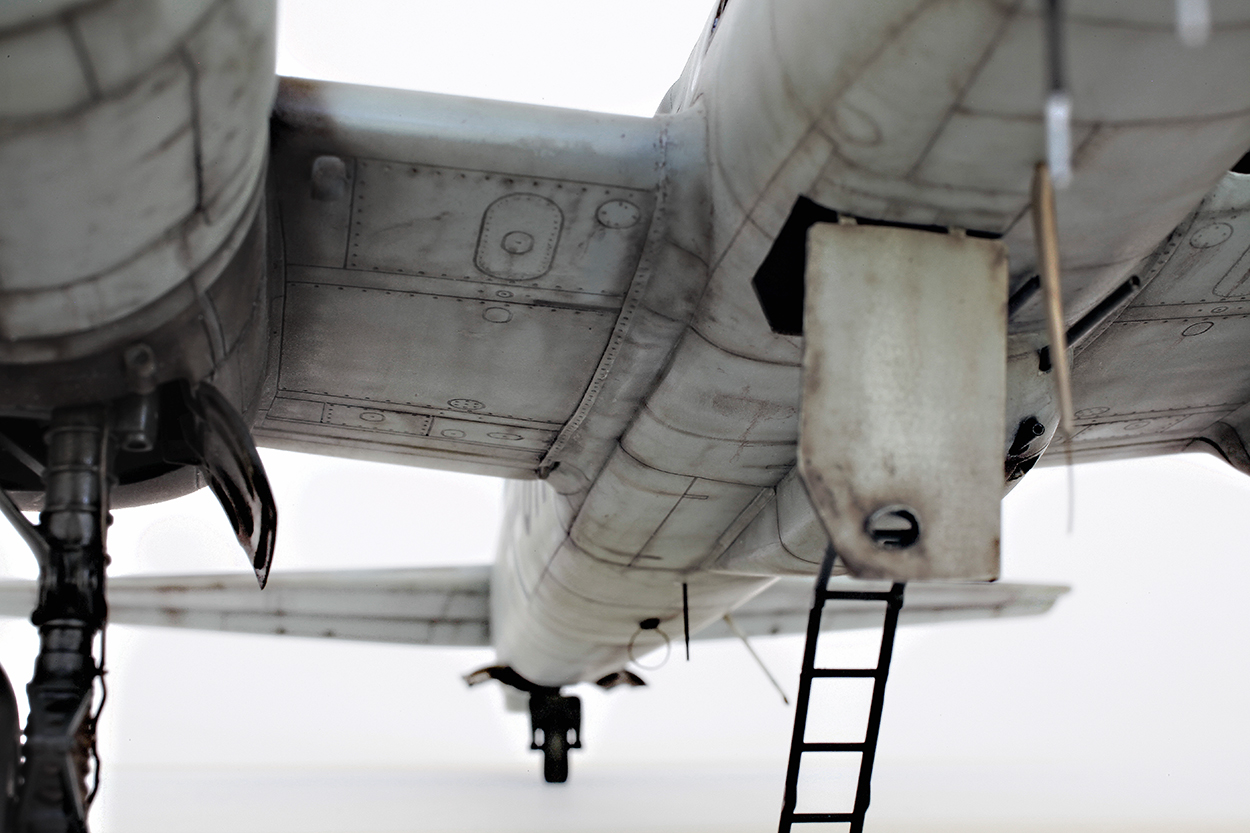
Dirty belly.

Starboard engine cowl and oily exhaust staining of this dirty bird.
GALLERY


Fantastic as ever Chris. A 1/32 version is on my list in the near future. Love the engine weathering
LikeLike
Absolutely amazing work! Thank you for inspiration for my future works 🙂
LikeLiked by 1 person
Took a while to see a new entry from you, Chris 😉 (it is a new subject, isn’t it?)! But absolutely worth waiting to see such amazing result! Good to have you back.
LikeLike
Besides your always impressive artistic skills Chris, the thing I like the most is your ability to turn a simple and old kit up into a breathtaking work of art with just some scratch bits and and outstanding realistic paint and weathering job. Unbeatable!
LikeLike
Love it Chris! Particularly the engine staining and cowls. Also the way you keep the panel lines consistent through curves and joins ect.. Weathering the lighter colour schemes is something I really like, so much scope for depth. I always drop by when looking for inspiration and ideas, your builds make for a great guide. Cheers,
LikeLike
Mind boggling…looks absolutely real!
LikeLike
Amazing…just wish I had the time to do something like this again…
LikeLike
Nice Junkers Chris, Hugo would be impressed… haven’t been bitten by the riveting bug yet?
LikeLike
I am absolutely amazed by your Ju 88 night fighter, your Ju 188 bomber, and your V-1. I am a fan of Luftwaffe models for decades and your Luftwaffe models are the best that I have ever seen.
Any possibility that you want to sell any of these models or willing to do commission builds.
I live in California, USA
best regards
LikeLike
Hi Darwin, I’m really flattered that you like my work so much but I’m very sorry, I don’t sell or do commissions any more. You’ll have to be satisfied with looking at the pics here. Not really the same as the real things but it’s the best I can do these days.
Please keep enjoying the photos, I really do appreciate your comments.
Cheers,
Chris.
LikeLike
Another absolutely stunning piece of work, Chris. Would you mind how do you actually go about staining? Is it all post-shading work?
LikeLike
Yes Rob it is all post shading done with a fine paint brush and the airbrush. Takes practice but is good fun when it works!
LikeLike
Dear Chris Wauchop!
Do you think that it is possible that we contact us each other over email? I`m also a modeller like you, but not so professional like you. I began to collect all your advices and pix into a document. The reason: At my weekend house I have no internet to check your homepage.
Would´nt you be interested to make a book with that document? I think it would be a nice thing to document your awesome skills to the modellers world?
So feel free to contact me.
Kind regards,
Gerald from Austria
LikeLike
Hi Gerald
I’m sorry but I don’t give out my email address because I fear I might be overwhelmed by people trying to contact me. Feel free to contact me on the About page of this site and I would be happy to answer any other questions you might have.
About the book, most of my work has been published in various publications. I appreciate the idea though, and that you find my work helpful for your own modelling. Thanks for your kind thoughts.
Cheers
Chris
LikeLike