Tamiya 1/35 Panther Ausf.D

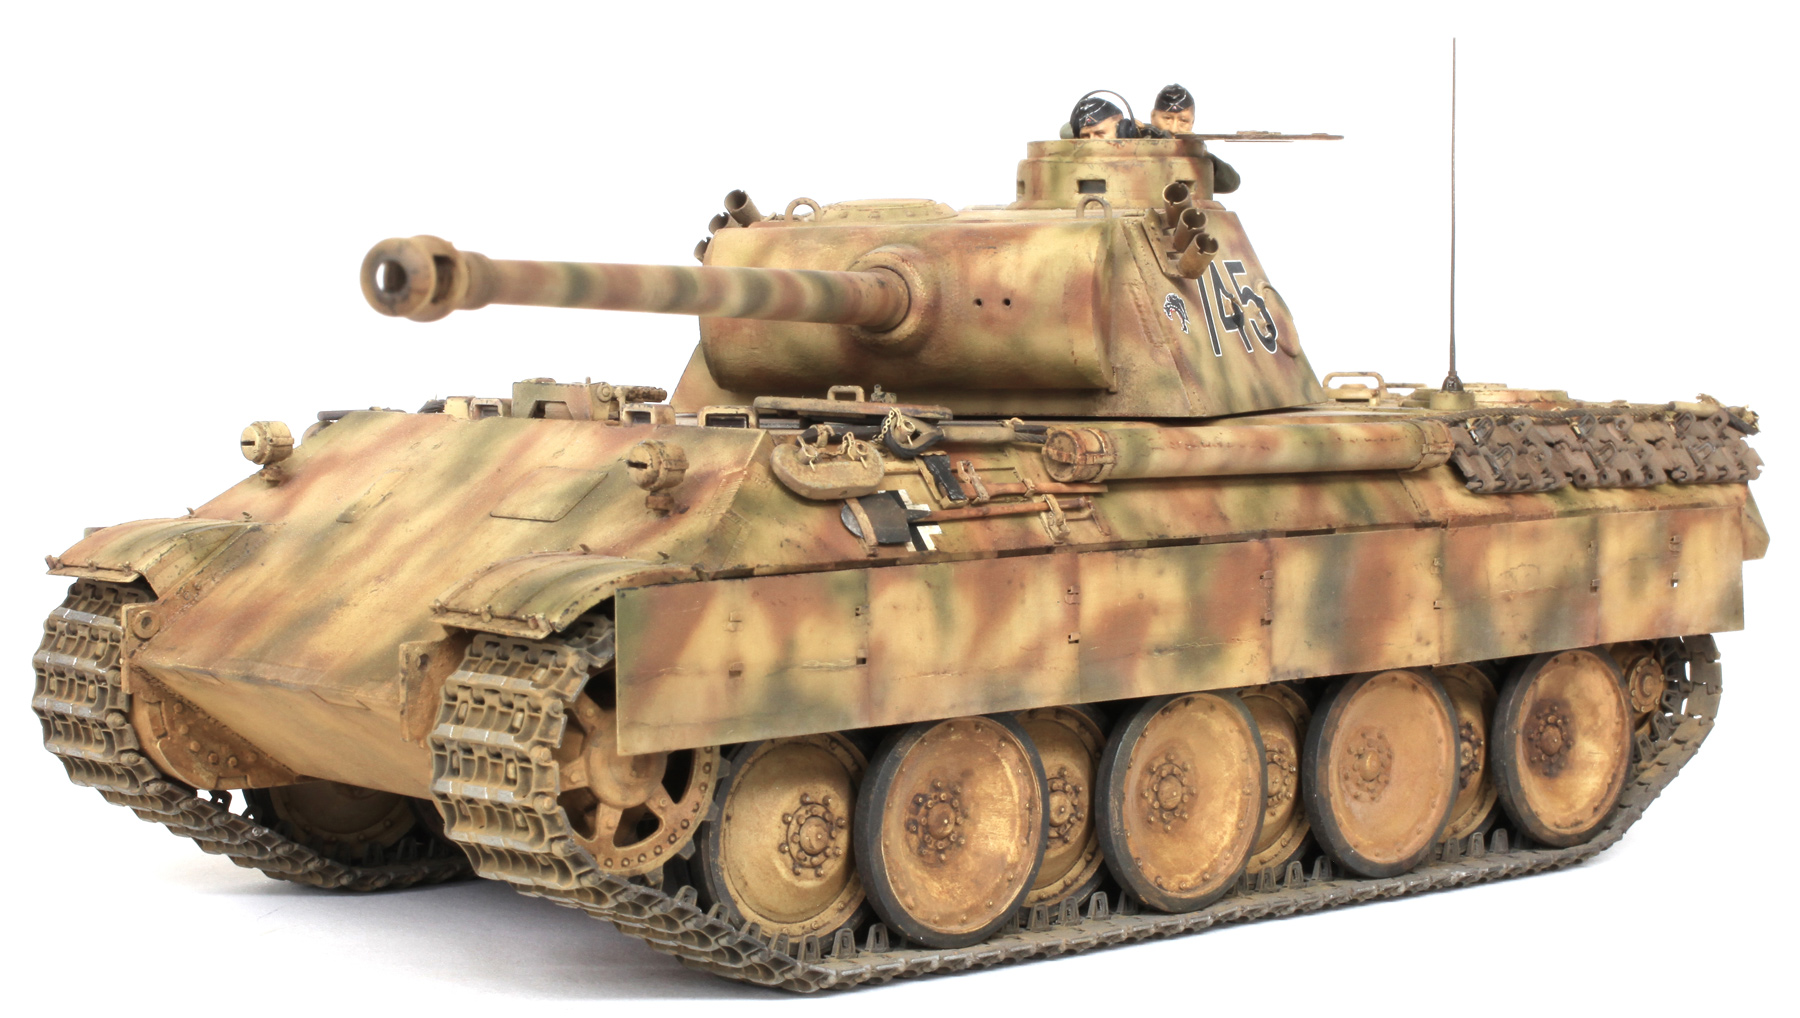
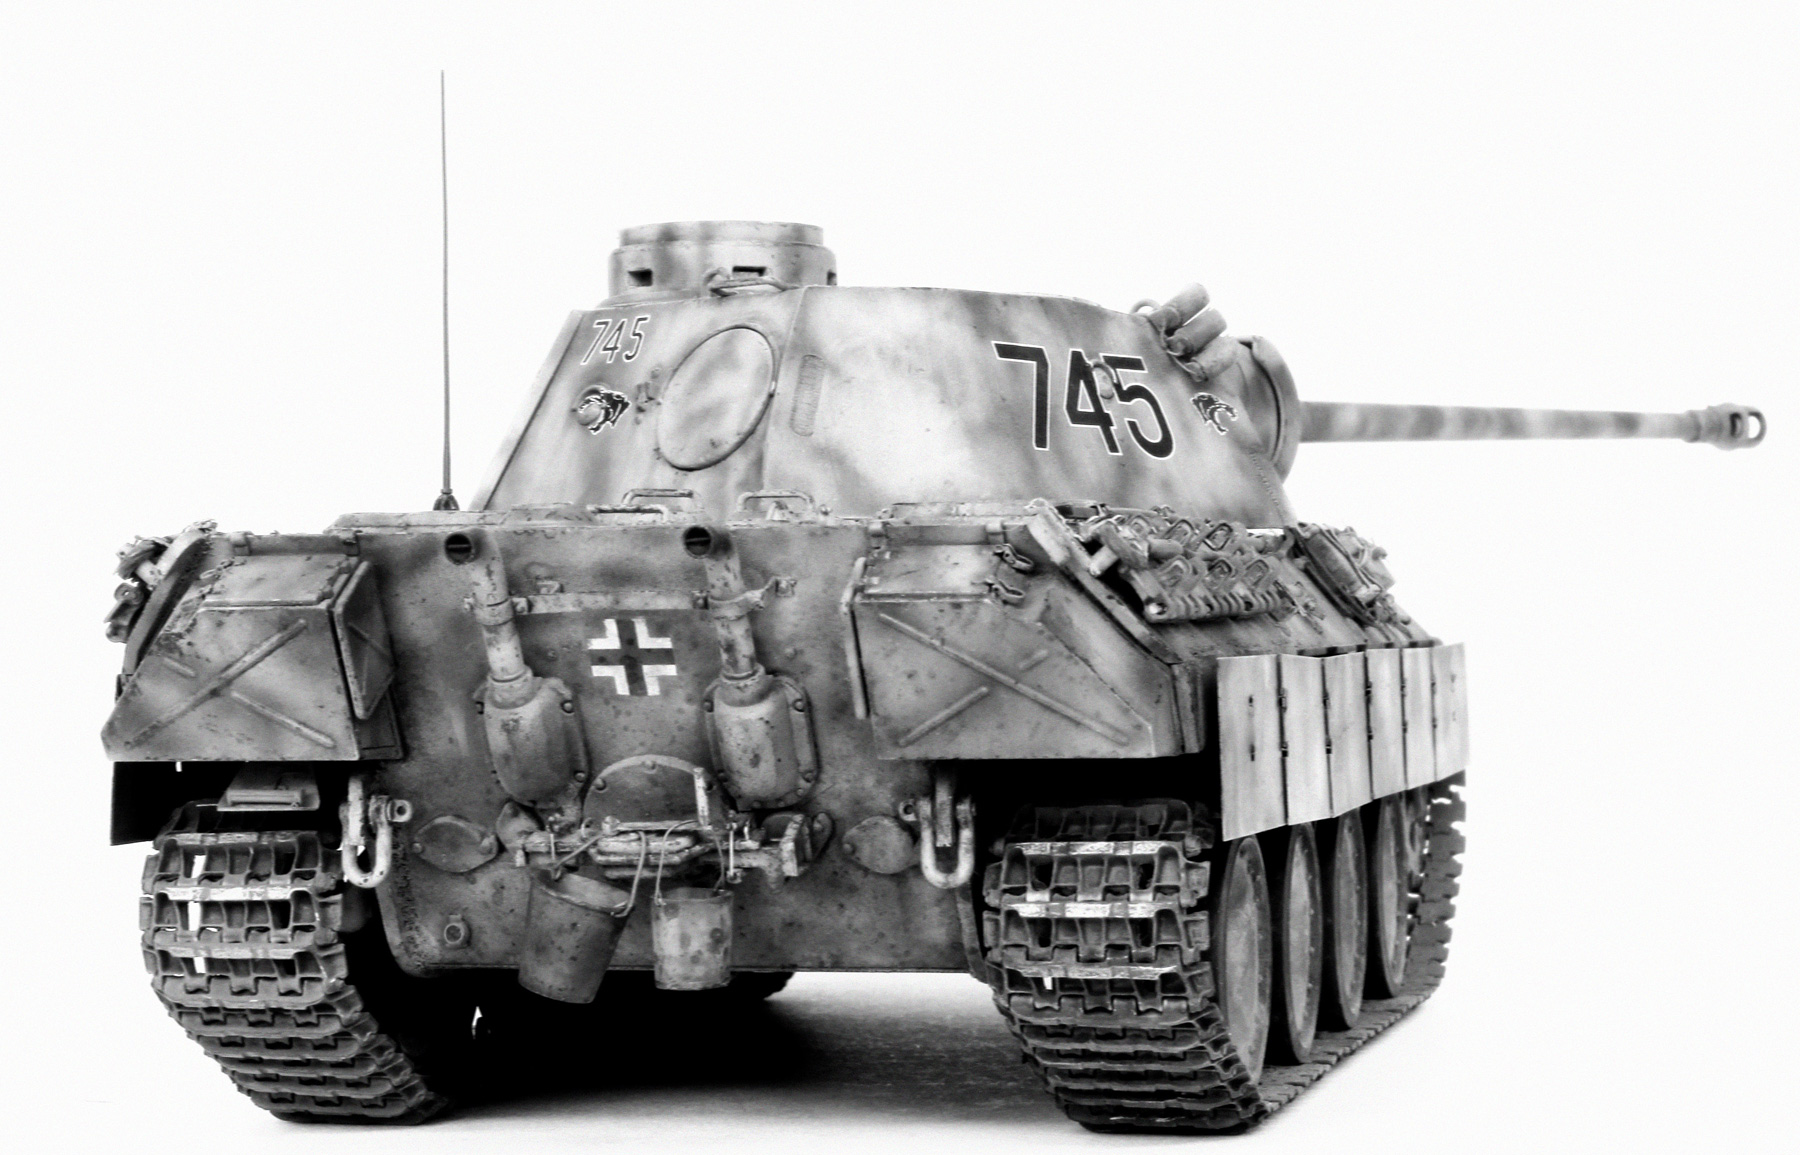
Tank No.745, 7th Company, 52nd Panzer Battalion, 39th Panzer Regiment, Kursk, July 1943
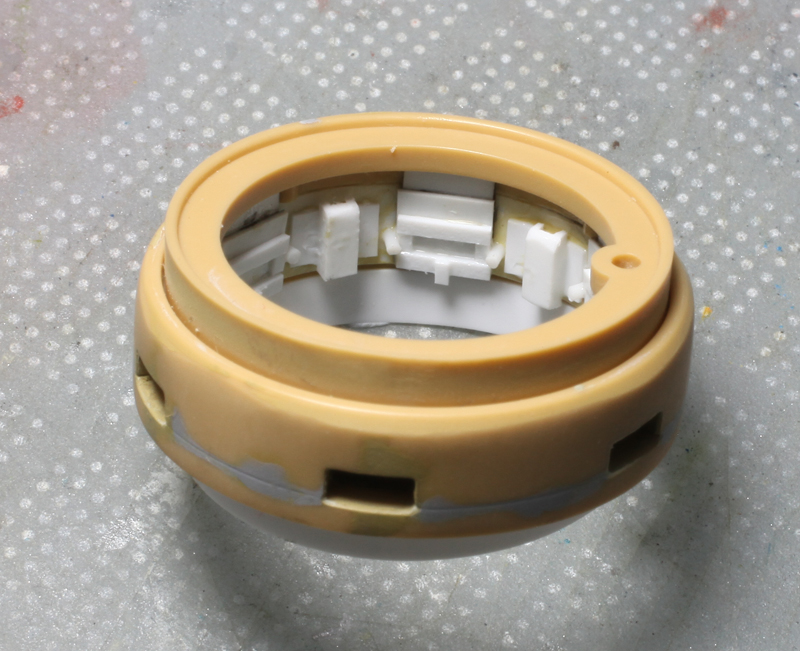
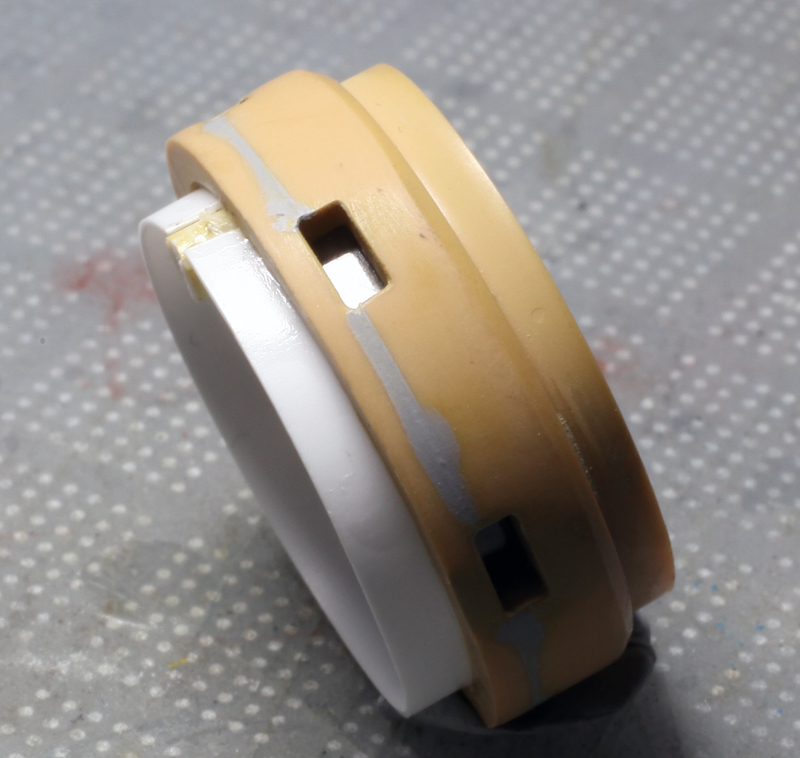
First order of business was to add some detail to the rather sparse interior of the kit commander’s cupola and after hours of searching the net I could not find any clear reference for this feature. The closest I could find were some interior photos and illustrations of Bovington’s early Tiger 1 which has a similar dustbin type cupola. Using these pics as my reference I added the detail you see here using plastic card and rod. It’s not 100% accurate but it looks a lot better than nothing. Of course since completing the model I did find some good pics of the Panther D’s turret interior and surprisingly my effort is pretty close!
Lenses cut from clear acetate were glued to the inside of the periscope openings before the other interior detail was added.
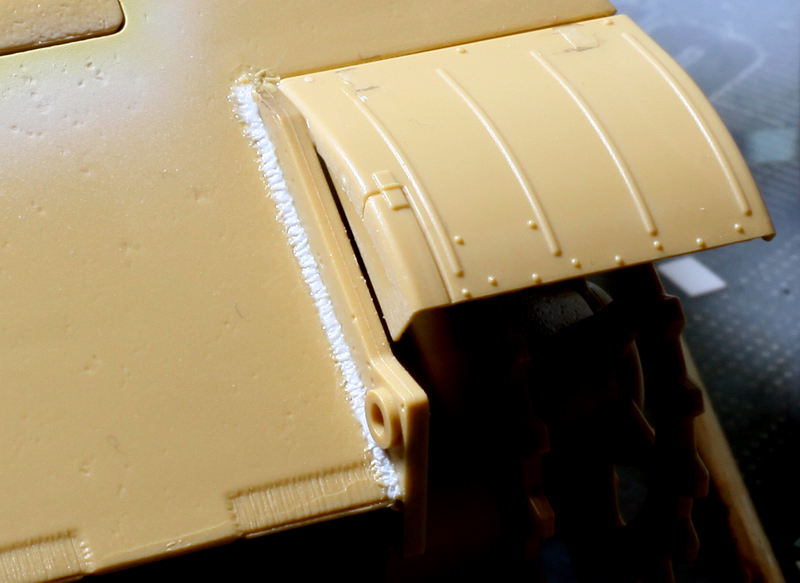
Missing weld beads were added using lengths of Evergreen plastic rod and stretched sprue. Once glued in place these were drenched with Tamiya extra thin liquid cement to soften them up. They were then shaped using the point of a needle mounted in a pin vice. Existing weld beads were also beefed up using the same method.
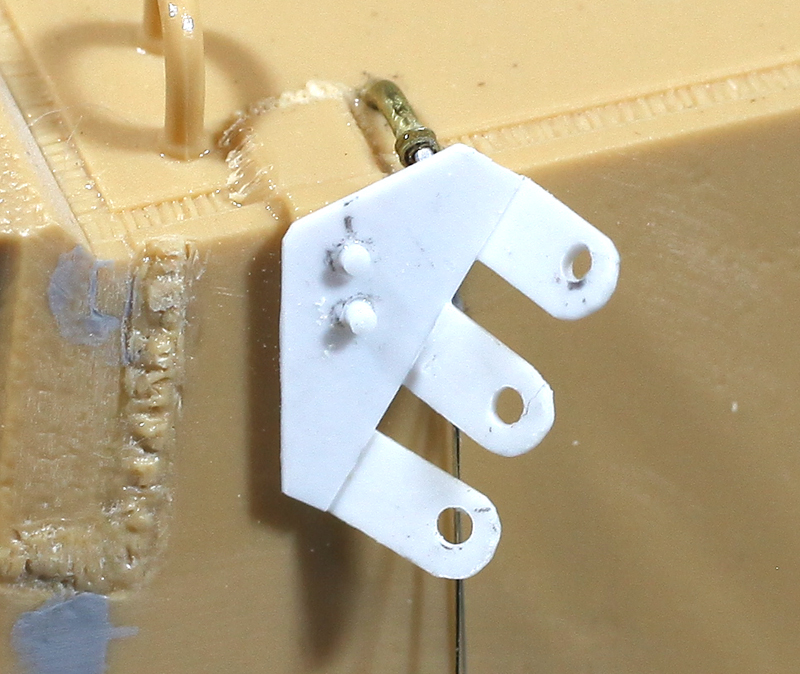
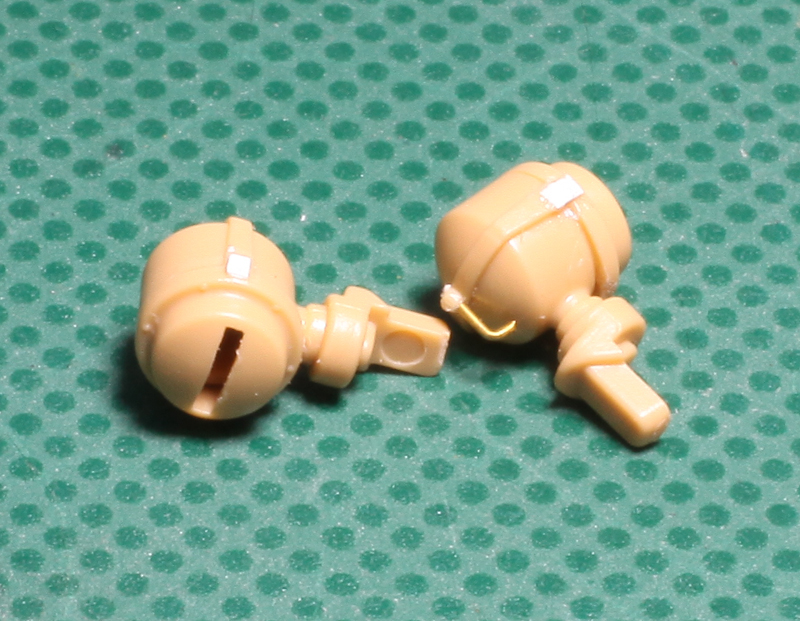
The kit’s smoke grenade launcher brackets were replaced with finer items made from .020 thou plastic card. In this shot you can also see some of the existing weld beads which have been given some extra body.
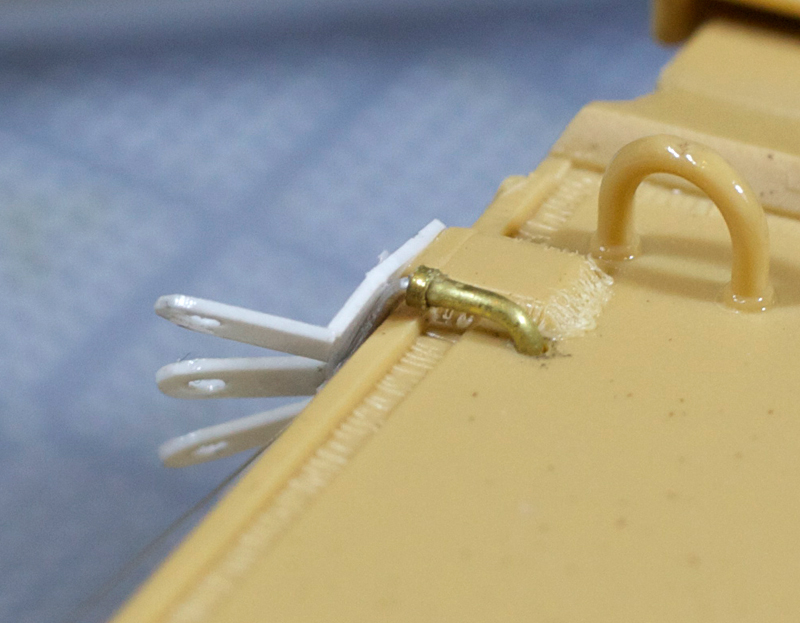
Plumbing for the launchers was added using brass tube and fine wire.
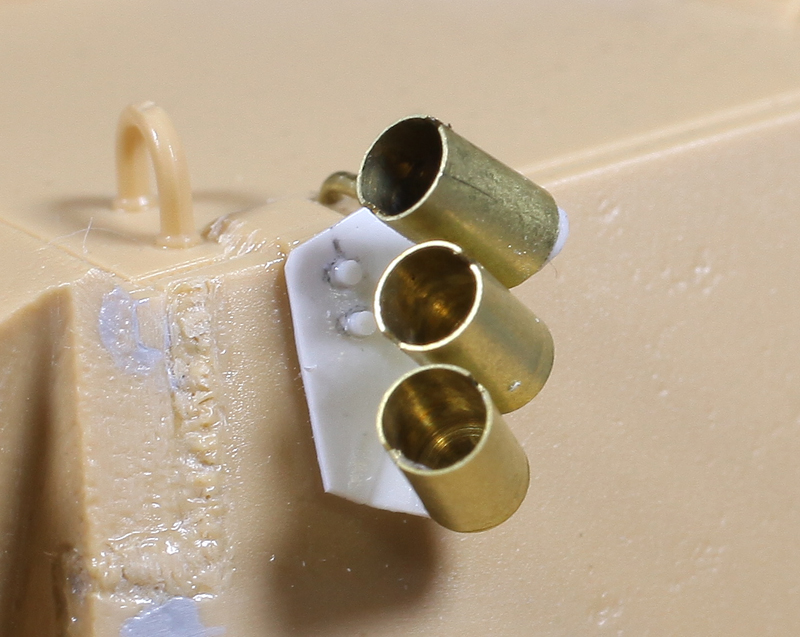
Model Point 90mm Nb.k.wg smoke/grenade throwers (empty), item number 3551-1 were used to replace the kit parts.

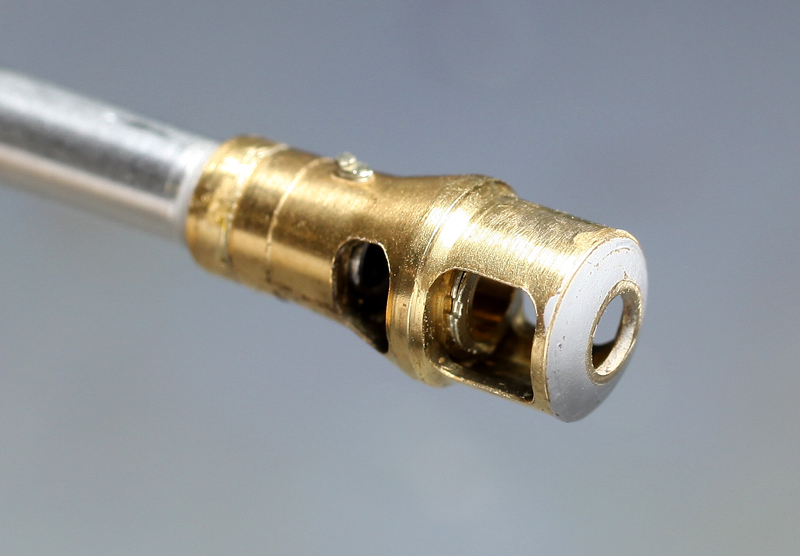
Launcher wiring connected.

The turned brass MG 34 muzzle from Aber’s update set 35 L-184 was used in the absence of any kit offering for the turret mounted coaxial machine gun.
The same Aber update set as the MG 34 also includes a turned aluminium KwK 42 L/75 gun barrel and eight piece turned brass and P/E muzzle brake.
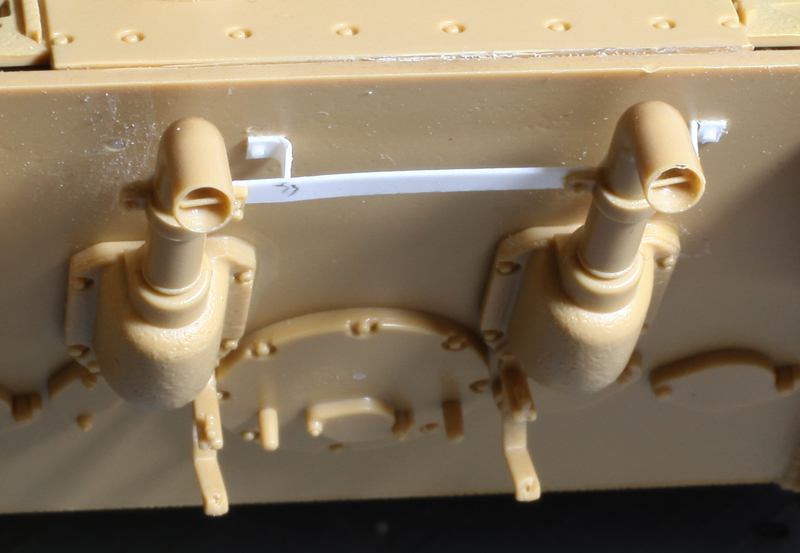
A new support bracket for the exhaust pipes was made using Evergreen plastic strip to replace the heavy looking kit part. The bracing rod in the open end of each pipe was added using stretched sprue.
The handle on the back of each headlight cover bracket was added using brass wire.
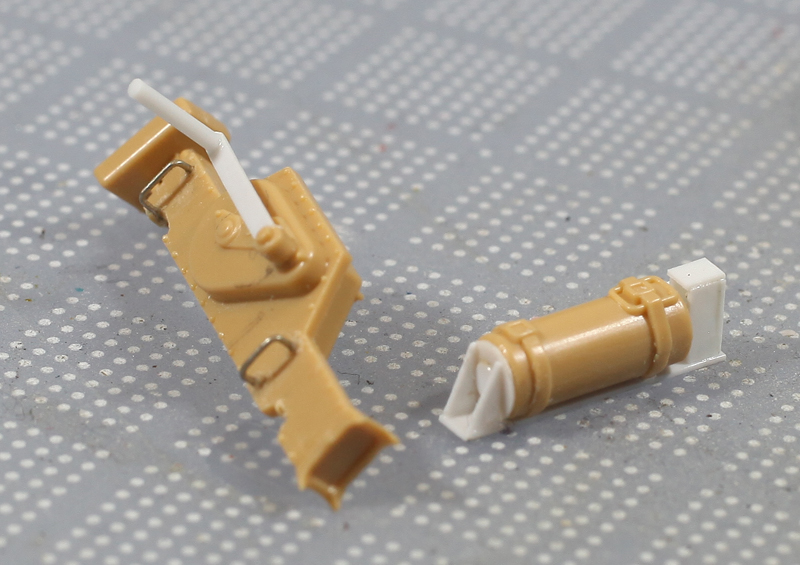
Extra detail was added to the jack and fire extinguisher using plastic card, plastic rod and brass wire.

Even though I didn’t use the metal gun barrel from Tamiya’s Detail-Up set, I did use the plastic parts for detailing the turret interior. These include the rear end of the coax MG 34, the binocular main gun sight and the breach for the main gun (above). As these parts may be glimpsed through open turret hatches, they received a quick paint job.

Kit external tool racks were used with the addition of some extra detail in the way of Aber’s workable P/E clamps and clasps.

Left side tool rack with extras.

The hull and turret with most extras added, these include the P/E Grille Set 12666 from Tamiya, most of the bits from the very fragile Gum Ka P/E set T-07 and lots of plastic and brass wire bits from me. The whole thing has been given a coat of red primer.

Most of the external stowage painted, weathered and ready to be attached.

Road wheels, drive sprockets and idler wheels have all been painted and weathered prior to installation.

With the finished running gear in place, the WWII Productions resin individual track link sets were cleaned up, assembled and painted before being very carefully installed. These tracks are workable but the click together joining system is inherently weak and during installation several breaks did occur. Very annoying and very time consuming to repair. I don’t think I will be using them again. Also in this shot you can see along the bottom edge of the upper hull that I have used plastic strip to beef up the attachment points for the P/E hangers and side skirts from Armorscale. These will replace the overly thick plastic kit parts.

The completed model showing the Armorscale side skirts painted and hung. Also in this shot can be seen Tamiya’s P/E grille set and brass radio antenna from Adlers Nest. Securing the tow cables, spare track links and tow hooks are lots of P/E chains and pins from Gum Ka. The bucket hanging from the jack handle was found in the spares box while the straight-sided can next to it was scratch built from plastic card and wire. The exposed hinge teeth of the the spare track links were drilled and pins made from brass wire were selectively inserted.

I don’t normally add figures to my models but these guys looked much better than Tamiya’s usual offering so with a bit of extra detail added here they are. I’m not really happy with my effort but I suppose they do add an element of life and a sense of scale.
GALLERY


Good to have you back Chris! Very nice effort and flawless execution!
LikeLike
Great Panther! What kind of brown and green have you used?
Cheers
Marc
LikeLike
Looks sweet Chris. When I’m in Sydney maybe we could have a beer…and talk shop.
LikeLike
Looks great Chris ! I love the camo, very cool
I’m looking forward to your next project,
Cheers,
Peter
LikeLike
Great job Chris! Nice job on the weathering, as always!
LikeLike
Impressive workmanship. To my wife, my patience and attention to detail look insane, but I have my limits — which is a big reason that I stay in 1/72 scale! Beautifully done.
LikeLike
Is it that you have German thing lately, my friend? 🙂
LikeLike
Just for about the the last 50 years or so.
LikeLike
Not a bloody tank, Chris!
LikeLike
Good to see you pumping them out mate! Yunkers
LikeLike
Fantastic! Are you able to provide a list of paints used??
LikeLike
Hi Mikey, sorry I’ve taken so long to answer you but have been a bit busy. The basic colours used were all Tamiya acrylics. These were XF-59 Dessert Yellow lightened with about 25% XF- 2 Flat White for the base colour, XF-64 Red Brown and XF-61 Dark Green for the disruptive cammo. The brown and green colours were heavily thinned and applied in built-up layers. The tracks were painted with a mix of about 80% red brown and 20% flat black. They were then given a liberal dusting with a mix of pastel chalk dust. All wooden tool handles were painted with XF-59 and metal bits flat black then polished with graphite dust. After the main painting was complete the whole model was given a wash with a mix of black/brown oil paints.
That’s basically it.
Let us know if you need more info.
Cheers,
Chris.
LikeLike