FineMolds 1/48 Nakajima Kikka (2019 refurbishment of 2007 build)
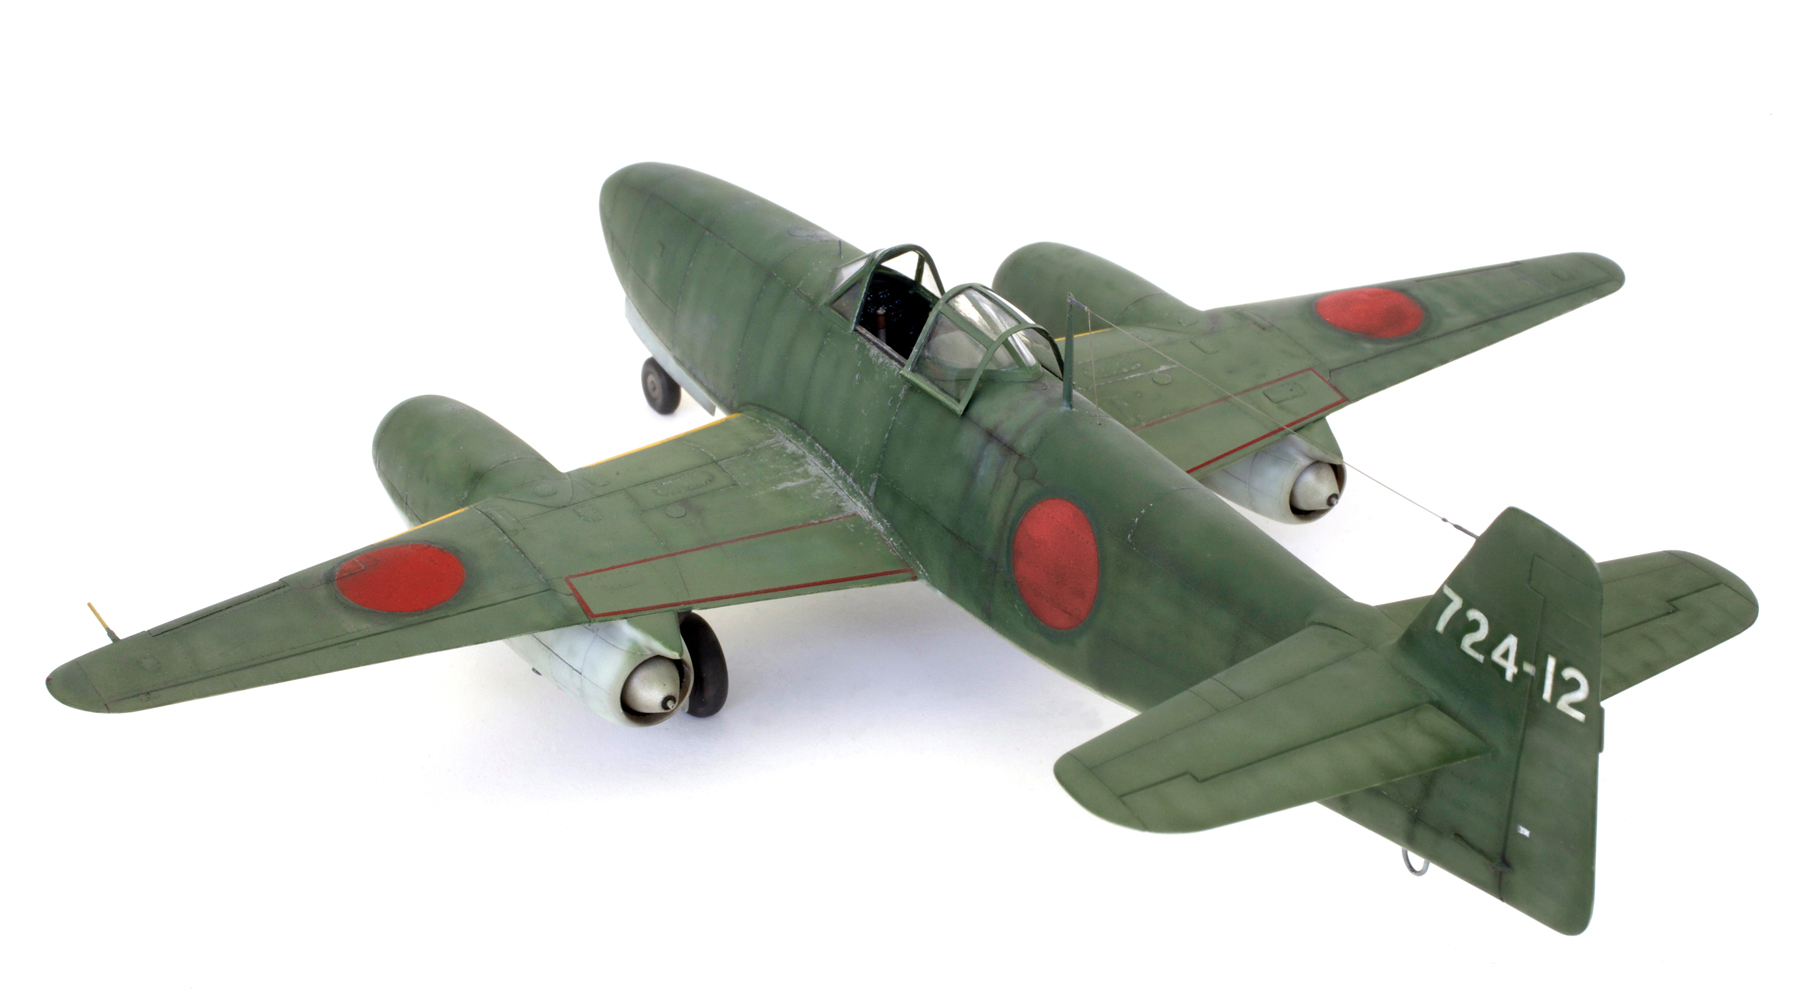
NAKAJIMA KIKKA (Orange Blossom)

The Kikka was intended for use in suicide missions so only received a name and not the letters and numbers usually designated to I.J.N. aircraft.

My original 2007 build. This was done mainly out of the box with a few alterations and additions. The main alteration was to open the kit’s one-piece canopy. To achieve this the kit part was carefully cut into three sections and the centre section was then used as a plug to form a new, thinner part by plunge moulding a heated piece of acetate over it. The original canopy frames did not mould clearly so new frames were cut from plastic strip and very carefully glued in place using super glue.

Some extra detail had been added to the undercarriage and bomb in the original build. These included brake lines on the main gear legs, the inner gear door closing brackets and a fusing prop on the bomb’s nose.

Refurbishment work began with the removal of the fuselage hinomarus and the addition of canopy rails to the top of the cockpit side walls.

Wing markings were so well fixed to the original paint that I could not remove them so after a light sanding they were left in place and then painted over.

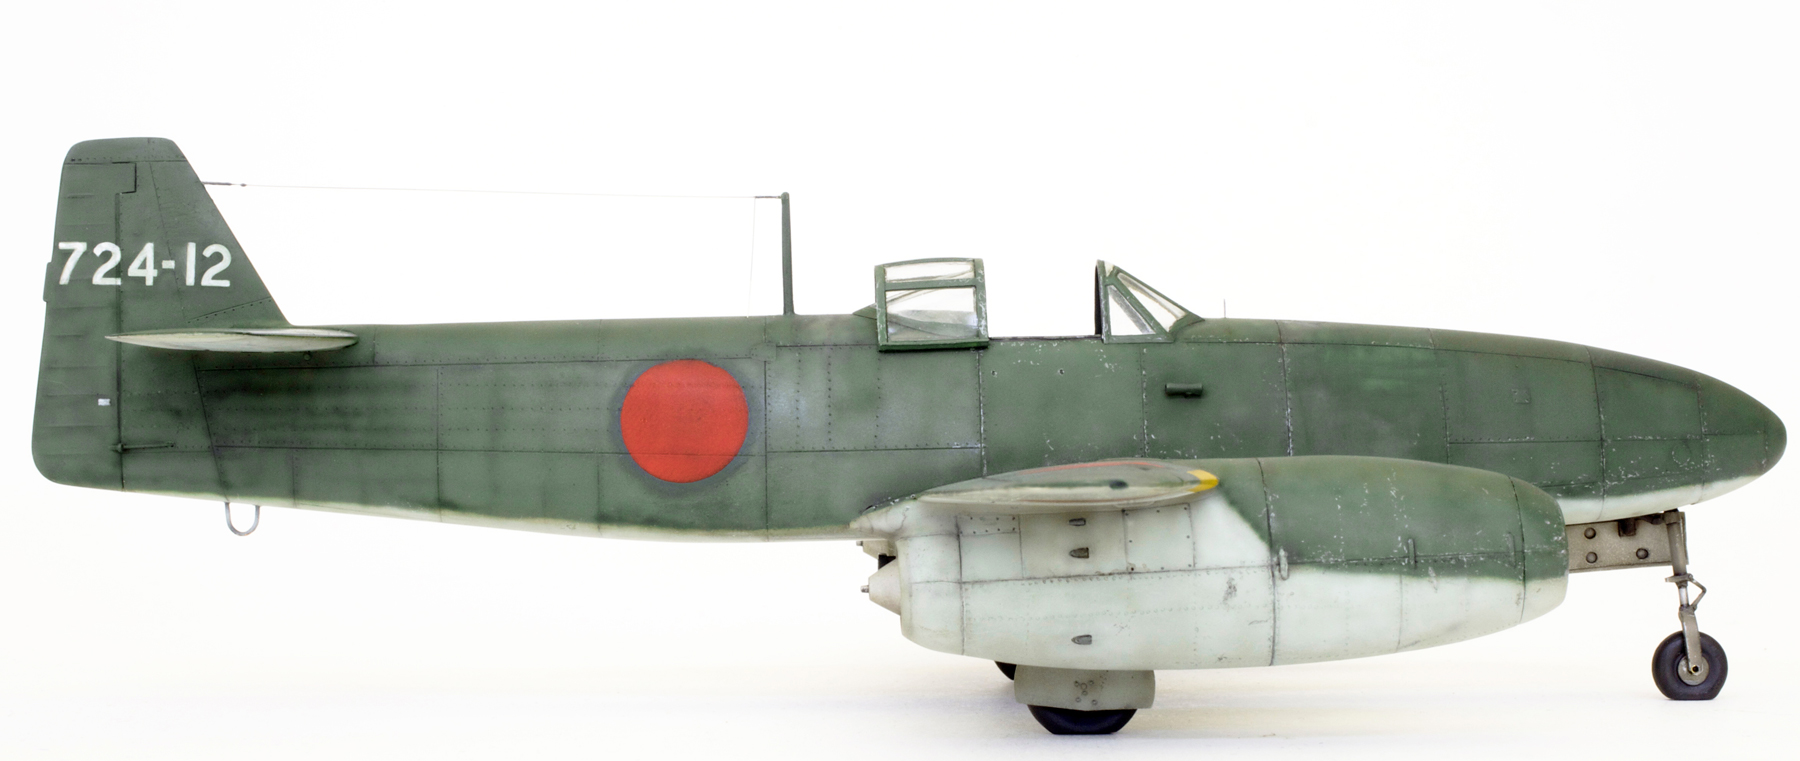
As I didn’t have any appropriate decals to replace the tail codes these were also left in place and carefully brush painted around and over. The RATO pods (one of which can be seen in this and the previous shot) were later removed as I didn’t think that an operational aircraft would have carried them in this position. And as I did not have any information to tell me where else they might have been placed they were left off. In later shots you can see that I also added rivet detail to the lower engine cowls.

In the original build I did add a fair bit of extra detail to the cockpit interior including seat belts and various levers and handles using stretched spru and lead foil. Some of these additions can be seen in this shot of the finished model.

Original paint and markings.

Now with new paint and markings the plane looks as though, in reality, it had been very hastily painted and looks much rougher and, I think, more realistic than my original scheme.
GALLERY


Yet another wonderful piece of work.. I really like the more used look of this aircraft, so much more depth. I’m a fan of re-visiting past builds, some seem like they’re never really finished. Also noticing the photography, lighting, backdrop ect on this one.. Don’t know how you do it but it’s all part of the overall presentation I suppose, magic. Something that sparks a bit of inspiration for me. Cheers Chris!
LikeLike
Always a great surprise to find another new piece… outstanding as always!
LikeLike
Nice work on the meatball 262 knockoff, although I’m unfamiliar with it. Yeah I’m not a big fan of Japanese aircraft except limited late war versions. What-ifs are just like Luft-46 which are academic …and some just very silly. RATO’s right next to a bomb…hmmm?
I’m finding the correct exposure tough to get with white (I believe its white backgrounds) as colors seem washed out. I’ve tried sourcing a WB/colour meter but many don’t seem to know what I’m talking about. We model period aircraft yet can’t have period backgrounds….hmm.
Looking forward to the 1/24 Hellcat…
Phil.
LikeLike
Another great piece of work Chris. Looking so much better with the new paint job. And I really admire your willingness to revisit earlier builds.
LikeLike
Hi Chris
Perfect job as always…
I have a question for you..
I was wondering how did you do this flattered tire effect…
Regards
George
LikeLike
George I use a bastard file.
LikeLike
Just…M A G N I F I C…¡¡¡ Thanks…¡¡¡ Enrique Bruno Bobbio,,,from Argentina¡¡¡
LikeLike
Thanks for posting this. Did you paint a lighter shade of the original—just gorgeous—subtle and the attention to detail is perfect.
LikeLike
Hi Nick, yes, a very patchy coat of the lighter green was applied and then the darker green details were carefully sprayed over the top of that.
LikeLike
What color did you use for the refurb? It’s perfect. I’d like to use the same shade for my Kikka build.
LikeLike
The colour used was Tamiya XF-11 JN Green lightened up with dash of XF-12 JN Grey to lighten it up a bit. It was about the same mix I used on my Judy. Sorry I can’t be more specific about the mix ratios but I just kept adding the grey until it looked right to my eye.
Cheers,
Chris.
LikeLike
Nice one,Chris! Great job!
LikeLike
Fantastic! In the first 3/4 picture it looks like a 1:1 aircraft. Love your approach to weathering and fading ”one color” camouflages.
LikeLike
Thanks Emil, I had great fun doing it.
LikeLike