Hasegawa 1/32 P-40E Warhawk (made as a Kittyhawk Mk.1a)

Kittyhawk Mk.1a of 3 Squadron, RAAF North Africa, middle of 1942 as flown by Flt Sgt Lloyd ‘Danny’ Boardman.

Instrument panel with kit decals. Each instrument dial on the kit decal was carefully cut out and applied separately. The clear reflector element and solid side panels of the N-3A gunsight were replaced with clear cell and plastic card.

Cockpit elements painted and ready to be assembled. The U.S. safety harness is from HGW and probably should be a Sutton Harness as used by the RAF. But this is what I was supplied with and I figure that these aircraft were probably delivered fitted with these belts.

Spinner, prop and undercarriage elements painted and weathered. Note all tyres have been flat spotted and brake lines have been added to the main undercarriage legs.

Undersurface Azure blue is my own mix and isn’t quite as intense as it appears in this photo. Weathering has begun here as well.

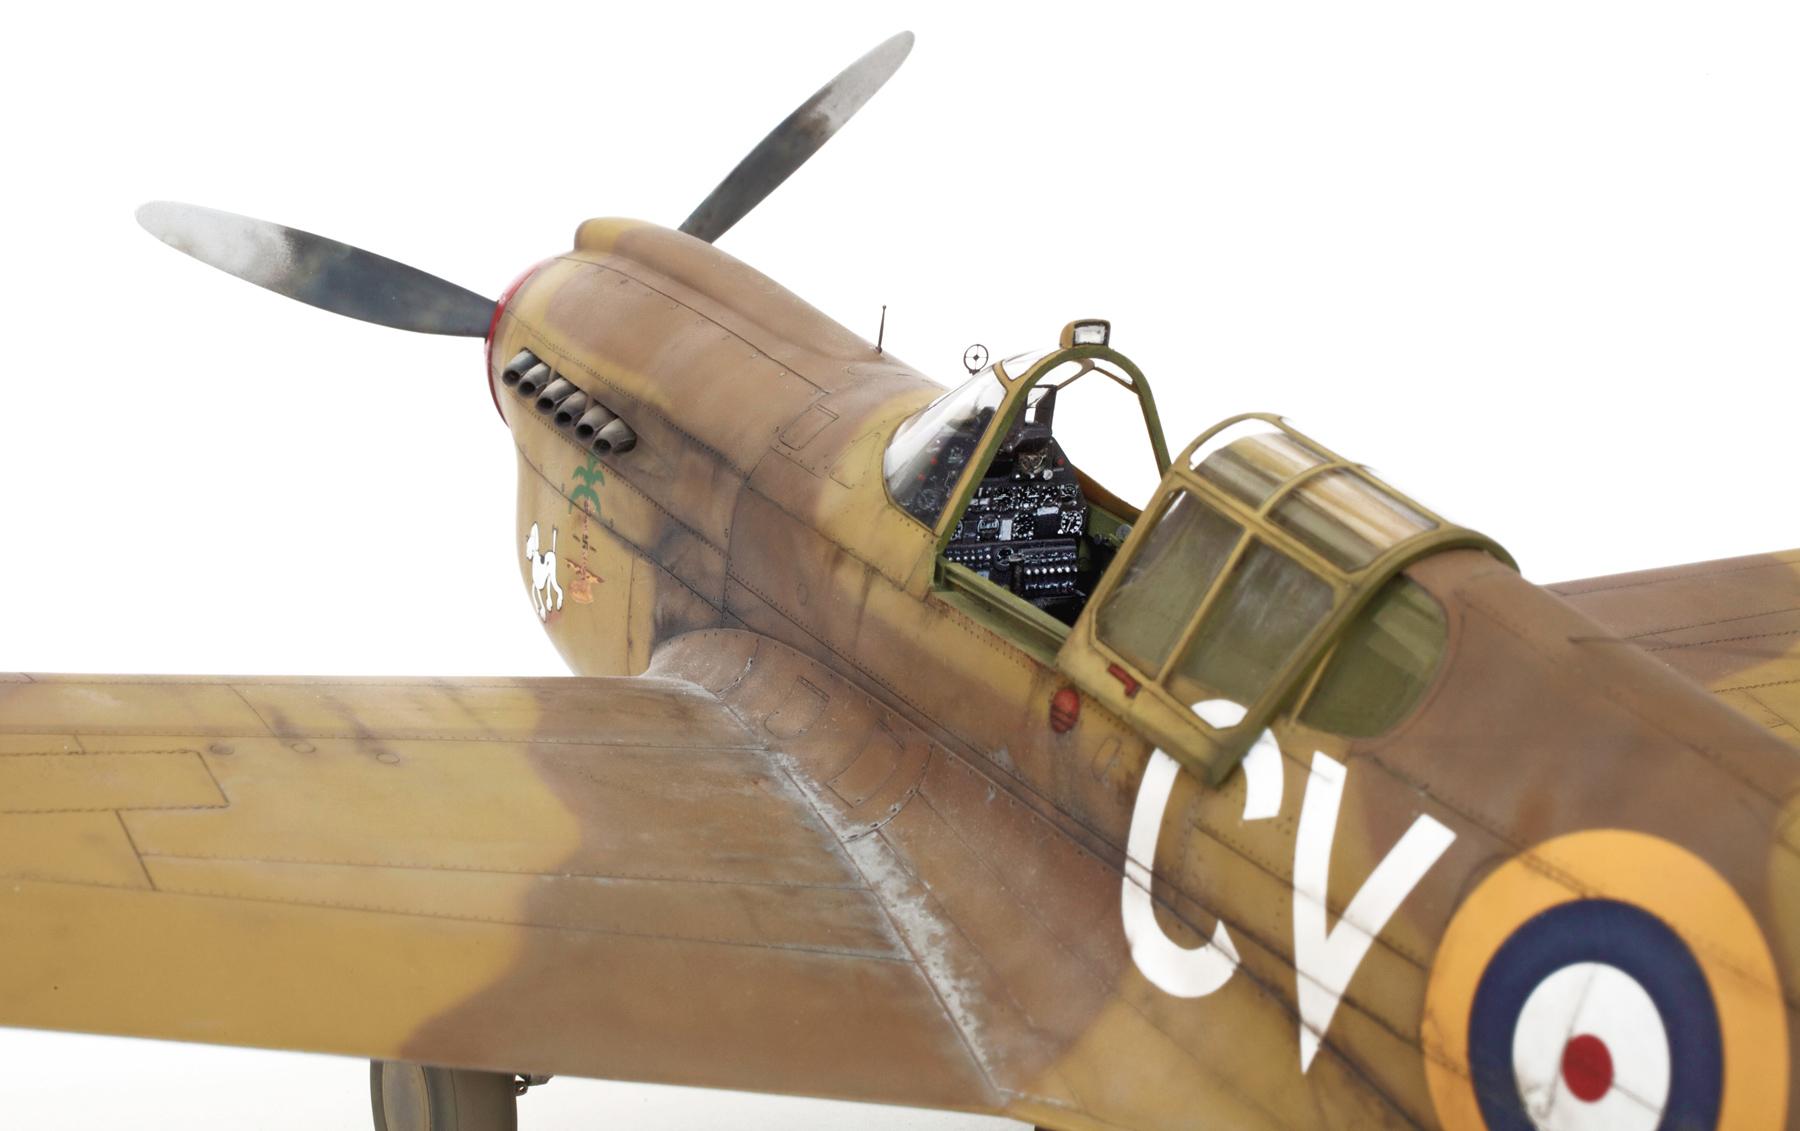
Gunze Sangyo H72 Dark Earth and H71 Middle Stone were used for the upper surface colours. Weathering has also begun along panel lines, wing roots and around the gun ports.

Lots of oil leaks and gun dust as per reference were added using the airbrush and my black/brown mix.

Weathering almost complete. More weathering will be done after decals have been applied.

The main photograph I used for reference shows this plane carrying a 250lb GP bomb fitted with a long detonation pin. Luckily I found that I had couple of 250lb GP bombs in my spares box which were left over from the Tamiya Spitfire I built a few years ago. With the addition of a few scratch-built details one of these would be perfect for the job.

250lb GP bomb painted and weathered. The long impact-detonation pins were fitted to these bombs so that they would explode slightly above ground level therefore causing a much wider spread of schrapnel. Very effective when used as an antipersonnel weapon.

The bomb mounting gear supplied with the kit was unsuitable for this sized bomb so a new rack with sway braces was scratch built using plastic strip, plastic rod and brass wire. Also seen in this shot are the actuator rods fitted to the inside of the undercarriage doors which were also made from fine brass wire.
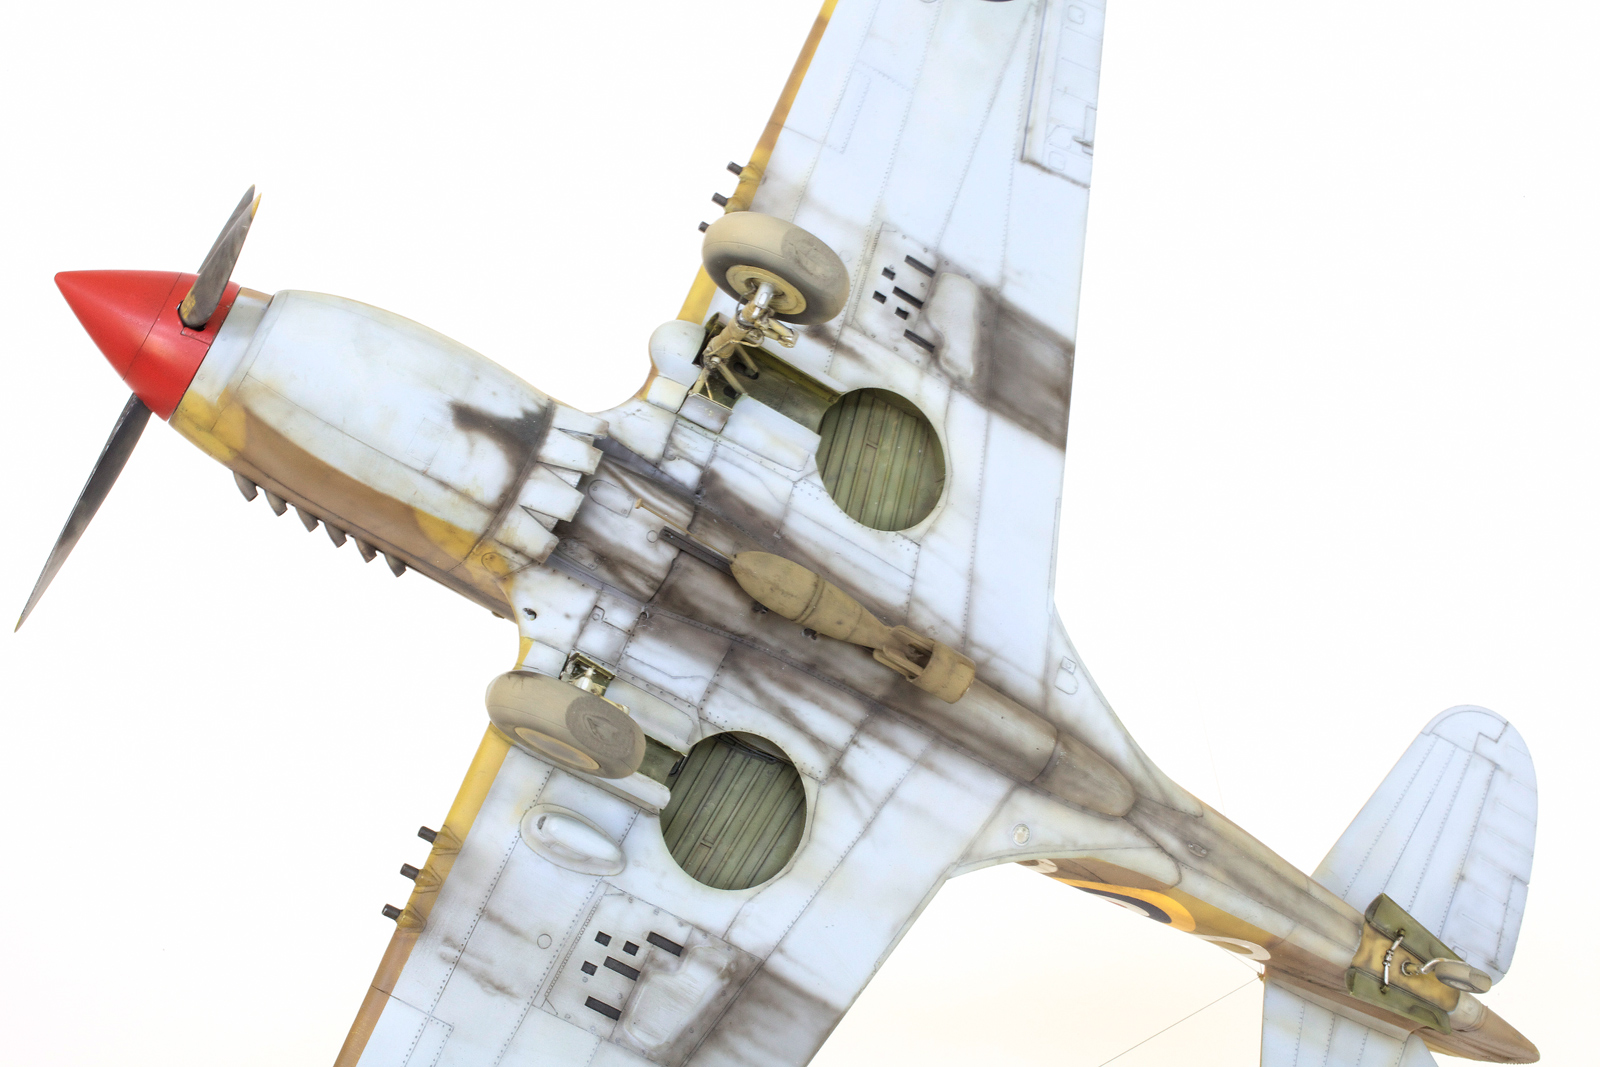
Bomb fitted to the very dirty under belly of this well worn war bird.

This shot shows some of the after market items used on this build, which include resin exhaust stacks from quickboost, and P/E and turned brass ring and bead gunsight from AIR MASTER. The chipped paint on the wing root area was applied with a very sharp PRISMACOLOR silver pencil. Exhaust staining and oil streaking was added using the airbrush and a fine paint brush. A watery black wash was carefully painted along panel lines and then very carefully around the canopy framework.
GALLERY


Excellent job and interesting subject!
Cheers, Tomasz
LikeLike
Yet another magnificent demonstration of your skill.
Thanks Chris, it’s fabulous.
LikeLike
Yet another magnificent demonstration of your skill.
Thanks Chris, it’s fabulous.
LikeLike
This work looks like the best of the most. With all respect, Andrew
LikeLike
Real nice Chris! Got pulled more and more by your various oil stains, smears, leaks and seepage detail. Top stuff..
LikeLike
Lovely stuff Mr Wauchop!
LikeLike
Thanks Roger, I thought you’d like this one.
LikeLike
Terrific build and finish.
LikeLike
Outstanding! As always, the masters touch… cheers.
LikeLike
Just found your blog Chris, great to see what you are up to. Followed you on HS for years, your paint work is always inspirational.
Konrad
LikeLike
Wow! What a fantastic build and another Wauchop build to add to my collection for reference and inspiration. I too followed your work on Hyperscale and never ceased to be amazed by your beautiful work. Thanks for sharing your techniques for building your aircraft.
.
LikeLike
Absolutely fantastic!
LikeLike
Outstanding work as always ! Which is the final varnish that you spray to seal everything at the end Chris!?
LikeLike
Hi George, the final clear coat I use is Gunze Sangyo Aqueous Hobby Color H20 Flat Clear.
LikeLike
HI Chris,
top job as always! LOve your P-40!
Would you mind sharing your mix of Azure blue?
Cheers
Alex
LikeLike
Chris, could you be so kind and share how you achieve the tonal variation on the camouflage, as can be seen on the close up photos – in this example the dark earth at the wing roots? Is it by post shading with lighter mixture of the base color (lighter=base color+white or tan)? Or is it just by heavier application of the base color in some areas and lighter in other (lighter=less paint)?
Cheers
Tomasz
LikeLike
Chris- here’s what amazes me: many modelers tend to over weather their subject. Your weathering skills are spot on! I’ve spent a good part of my life around airplanes. Everything from working on P-51’s and B-25’s to flying A-330’s for Delta. Your weathering is EXACTLY right in my opinion. I’m finally getting around to painting and finishing my Tamiya 1/32 Spitfire MKIX. Do you happen to have an email so I could ask you about techniques? Or is it best to do it on this forum? Cheers…Steve
LikeLike
Hi Steve, I’m really flattered by your kind words and I have to tell you that I’ve been trying to perfect my technique for about the last 55 years. I hope to get it right soon! I rarely (if ever) look at my emails so it would be much better to ask any questions you have here or on the ABOUT page of this site and I will be only too happy to answer.
Looking forward to hearing from you.
All the best,
Chris.
LikeLike
Thank you sir! Any questions I have I’ll post on the appropriate A/C page( P-40, Corsair) ,etc.
LikeLike
Аs usual, without words, great!
LikeLike
As flown by my Great Uncle. Thank you for a fitting tribute to a good man.
LikeLike
My absolute pleasure Denis.
LikeLike